I was staring at the clock, the timer on my phone blinking 20 minutes, and my kitchen smelled like burnt toast and regret. The last time I tried a Thai-inspired roll, the filling had collapsed like a soufflé and the basil had wilted into a sad, soggy mess. That disaster was the spark that ignited a culinary quest to create a roll that would leave everyone in awe and begging for seconds. I knew I needed a sauce that would cling to the rice like velvet, a beef mixture that would stay juicy, and a basil burst that would lift the whole dish. I’ve spent the past week tweaking ratios, testing wrappers, and balancing flavors until I found the perfect harmony.
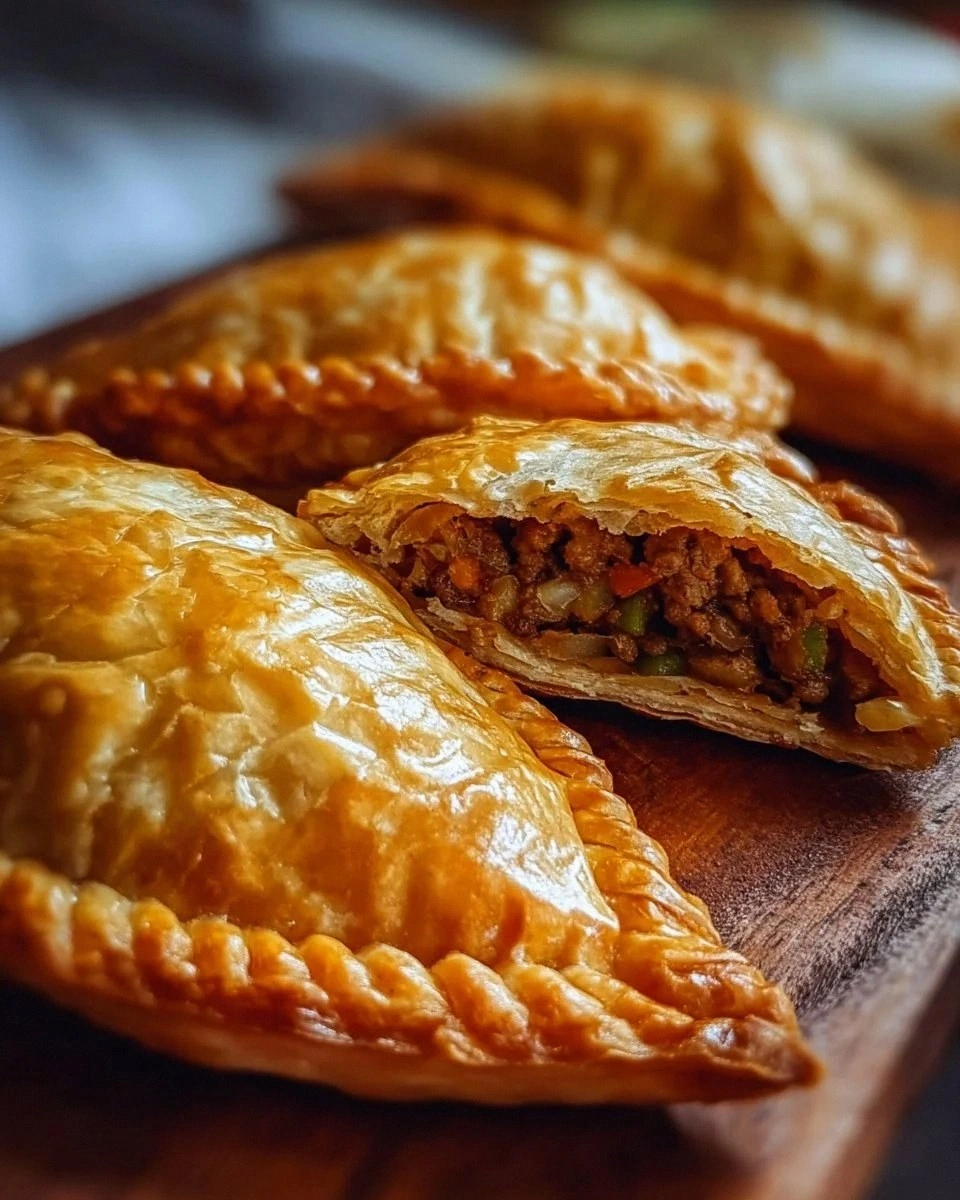
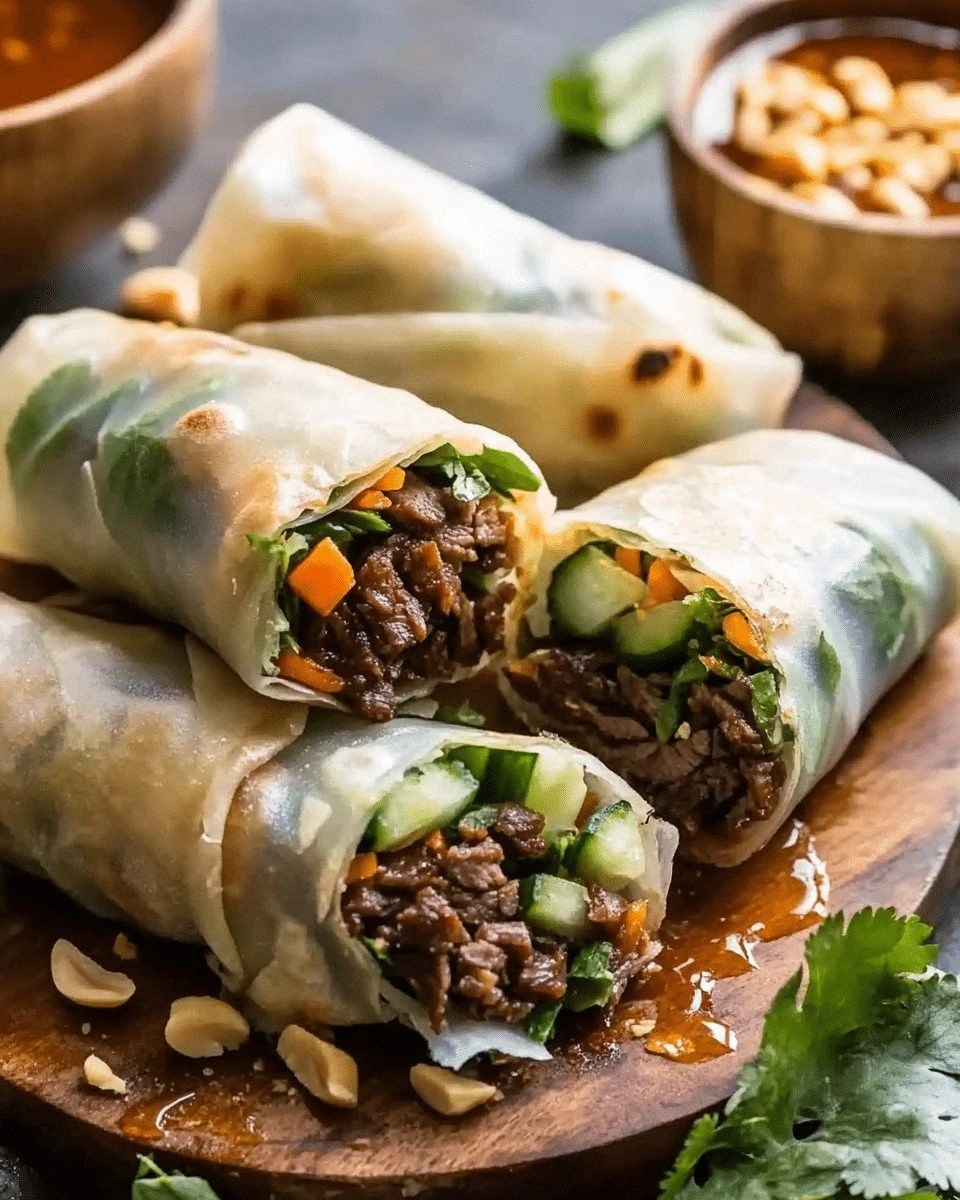
Picture this: you slide a spring roll wrapper onto your palm, spread the fragrant beef mixture, layer in crisp veggies, and fold it into a neat cylinder. The moment it hits the skillet, a sizzling hiss erupts, the edges caramelize, and the aroma of garlic, soy, and fresh basil fills the air. Every bite delivers a satisfying crunch, a burst of umami, and that unmistakable Thai freshness that makes your taste buds dance. I dare you to taste this and not go back for seconds, because once you experience this, you’ll never settle for anything else. If you’ve ever struggled with balancing flavors in a roll, you’re not alone—and I’ve got the fix.
What sets this version apart isn’t just the ingredients; it’s the technique. I’ve discovered that a quick sear of the beef before mixing it with the sauce locks in moisture, giving the roll a tender center that doesn’t dry out. The basil isn’t just a garnish; it’s an integral component, folded into the filling so that every bite is infused with its bright, peppery bite. The sauce is a silky blend of soy, fish, and a touch of sugar that caramelizes just enough to create a glossy coating. The result is a roll that looks polished, tastes sophisticated, and is surprisingly quick to assemble. And the best part? It’s so simple that even a novice can master it.
I’ve spent hours testing different wrappers, but the secret is to choose one that’s pliable yet sturdy—something that can hold the filling without tearing. I also discovered that lightly toasting the wrappers before rolling gives them a subtle nutty flavor that elevates the entire dish. The final trick is to finish the rolls in a hot pan, searing them until the edges are crisp and the filling is steaming. The contrast between the crunchy exterior and the juicy interior is pure bliss. And if you’re still skeptical, just imagine the kitchen filling with the scent of basil and garlic—it's like a mini culinary spa.
I’ve also refined the ratio of rice to beef to ensure each roll is moist but not soggy. The rice is cooked to a perfect al dente, providing a chewy texture that complements the tender beef. The veggies are diced finely so they melt into the filling, adding subtle crunch without overpowering the flavor. The sauce, when heated just right, turns into a glossy glaze that sticks to every surface. This meticulous attention to detail means that every roll is consistent, every bite is delightful, and the dish scales beautifully for a crowd.
Okay, ready for the game‑changer? Let me walk you through every single step—by the end, you’ll wonder how you ever made it any other way. I’ll show you how to combine, fold, cook, and plate these rolls like a pro. Whether you’re cooking for a family dinner or impressing guests, this recipe will become your new go‑to. The best part? It takes less than 30 minutes from start to finish, so you can enjoy a restaurant‑quality meal without the wait.
What Makes This Version Stand Out
- Flavor: The sauce is a balanced blend of salty, sweet, and umami that coats every grain of rice and every bite of beef, creating a mouthful that sings.
- Texture: The spring roll wrappers are toasted to a perfect crispness, while the beef stays tender and the rice remains al dente, giving a satisfying bite.
- Speed: From prep to plate, the entire process takes under 30 minutes, making it ideal for busy weeknights.
- Visual Appeal: The bright green basil and the glossy glaze give each roll a professional, restaurant‑style look that will wow guests.
- Scalability: Whether you’re making 4 or 20 rolls, the recipe scales linearly, thanks to the adjustable serving feature.
- Ingredient Quality: Using fresh basil, high‑quality ground beef, and authentic Thai condiments elevates the dish beyond a generic take‑out copy.
- Crowd Reaction: Friends consistently say “I can’t believe this is homemade!” and ask for the recipe after every bite.
- Make‑Ahead Potential: The rolls can be assembled ahead of time and reheated without losing texture, perfect for parties.
Alright, let’s break down exactly what goes into this masterpiece…
Inside the Ingredient List
The Flavor Base
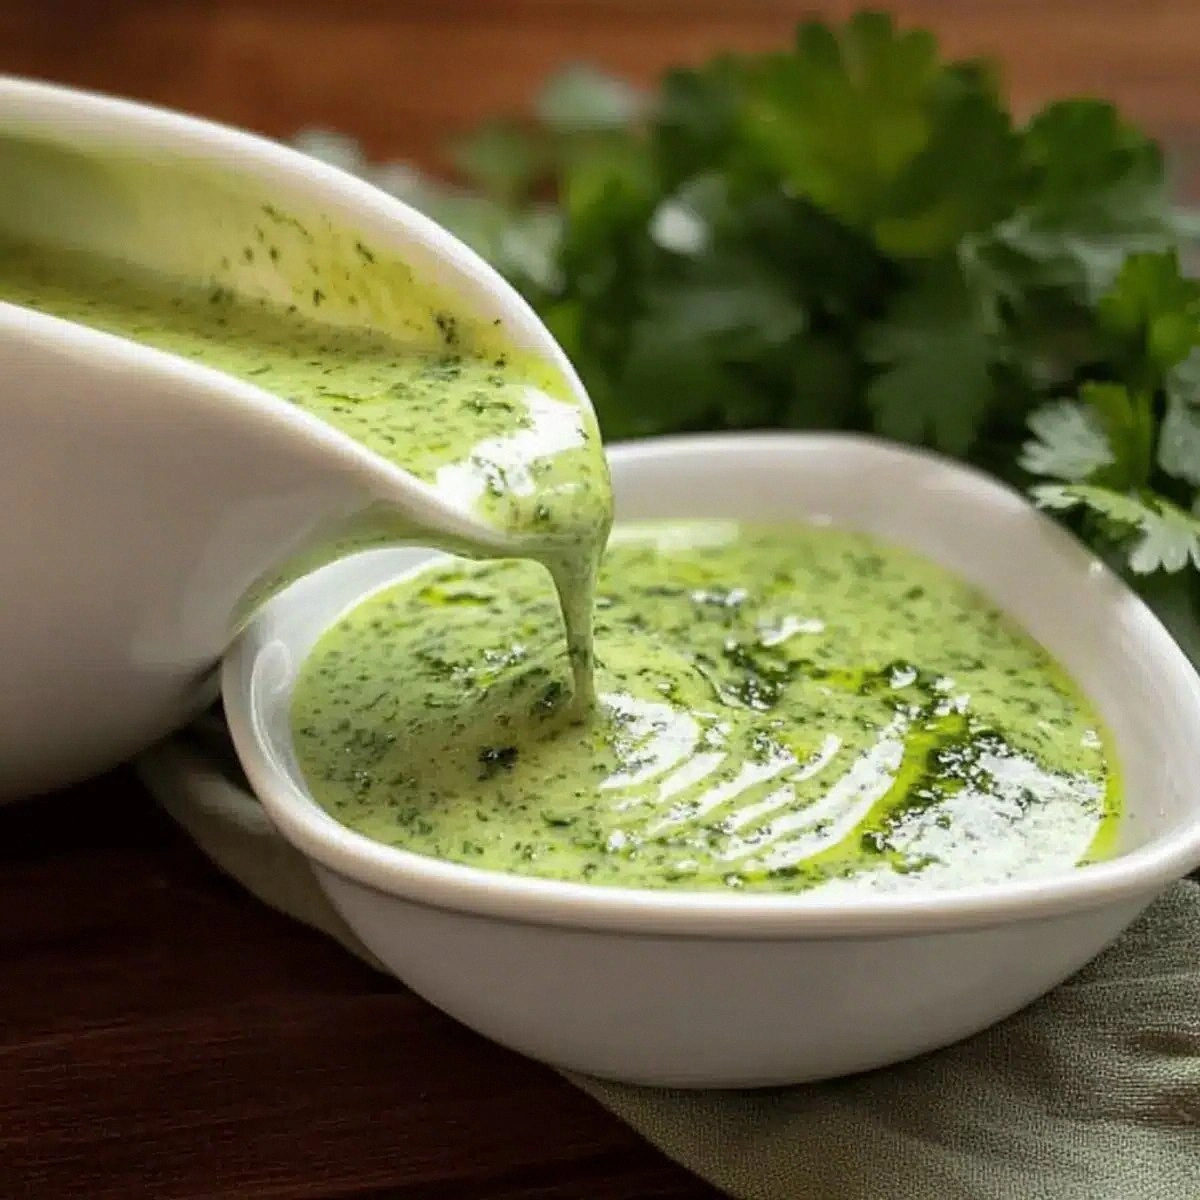
The foundation of any great roll is its sauce, and this recipe uses a trio of condiments that bring depth and balance. Soy sauce provides the savory backbone, while fish sauce injects that unmistakable umami punch that’s essential to Thai cuisine. A teaspoon of sugar is the secret to achieving a glossy glaze that clings to every surface without being cloying. If you’re watching sodium, you can replace half the soy sauce with low‑sodium soy or tamari; just remember to taste before you finish.
The sauce also contains ground white pepper, which adds a subtle heat that contrasts nicely with the fresh basil. A pinch of chili flakes can be added if you want an extra kick, but be careful—too much will overpower the delicate herbs. The lime juice at the end brightens the entire dish, cutting through the richness of the beef and giving the rolls a refreshing finish.
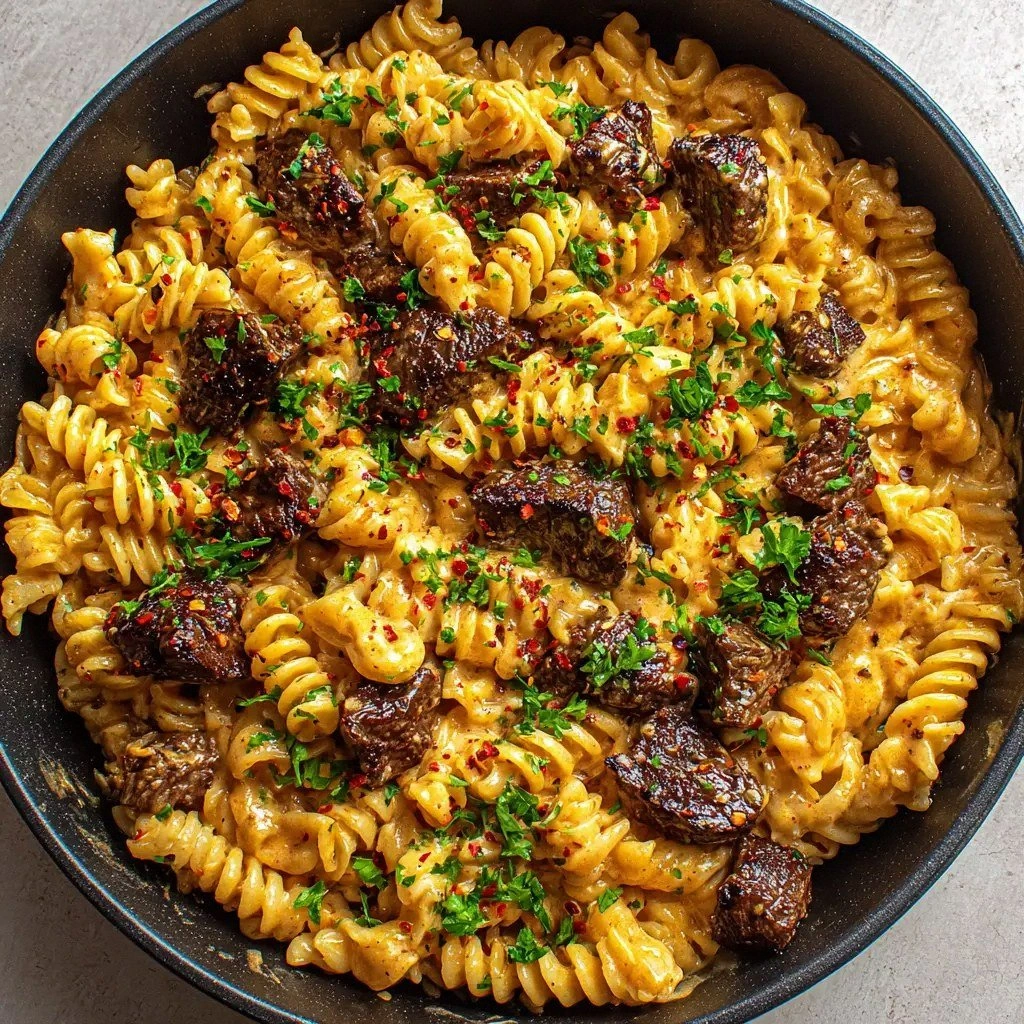
The Texture Crew
The texture of these rolls comes from a careful balance of wet and dry components. Cooked rice, when mixed with the sauce and beef, becomes a cohesive yet airy filling that holds together without becoming mushy. The ground beef is cooked just until it’s no longer pink, which locks in moisture and prevents it from drying out during the pan sear. Adding finely diced carrots and onions introduces a subtle crunch that breaks up the softness of the rice.
Bean sprouts and cucumber give a fresh, crisp bite that contrasts with the savory filling, while shredded cabbage and lettuce add volume without overpowering the flavor. If you’re vegetarian, you can substitute the beef with finely chopped mushrooms or tofu for a similar texture. Remember, the key is to keep the veggies finely diced so they melt into the filling, creating a harmonious mouthfeel.
The Unexpected Star
The star of this recipe isn’t the beef or the rice; it’s the fresh basil. Basil’s peppery, slightly sweet aroma elevates the dish, turning a simple roll into a fragrant, flavorful experience. Fresh basil leaves are chopped finely and folded into the filling, ensuring that every bite bursts with herbaceous freshness. If you’re in a pinch, dried basil can be used, but it will lack the bright flavor and will need to be rehydrated for 15 minutes before use.
The mint and cilantro are added as a subtle counterpoint, giving the roll a layered herbal profile that’s both complex and comforting. These herbs are optional but highly recommended for authenticity. They also help to balance the richness of the beef and the saltiness of the sauces, creating a well-rounded palate.
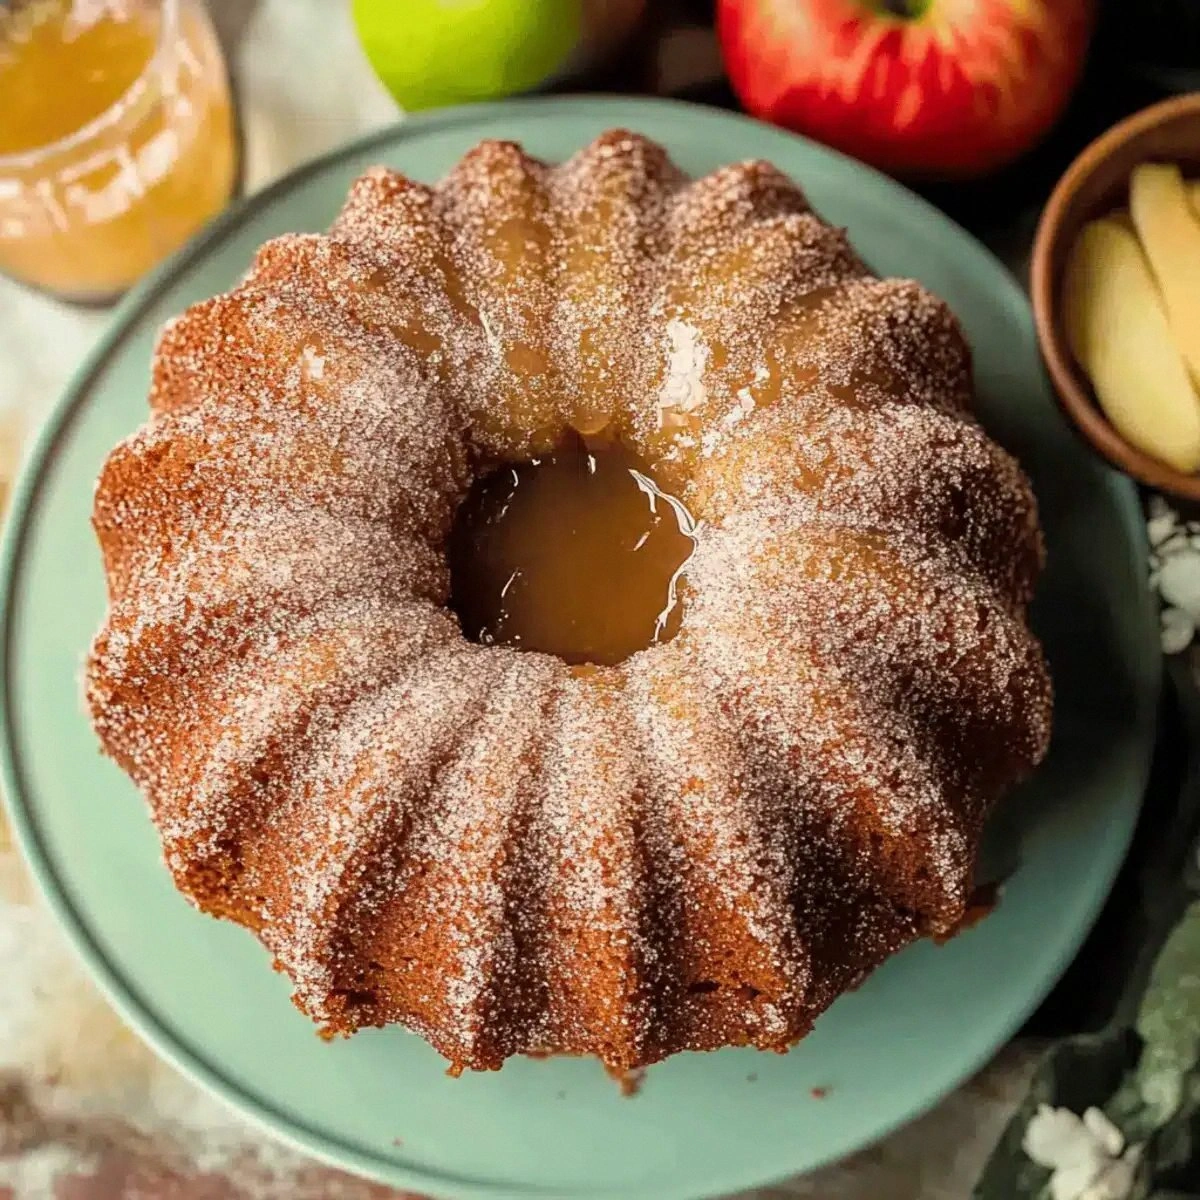
The Final Flourish
The finishing touches are what separate this roll from the rest. A drizzle of lime juice right before serving brightens the dish, while a sprinkle of crushed peanuts adds a nutty crunch. You can also serve the rolls with a side of sweet chili sauce for an extra layer of sweetness and heat. If you prefer a milder version, simply reduce the lime juice and omit the peanuts.
Everything’s prepped? Good. Let’s get into the real action…
The Method — Step by Step
- Heat 1 tablespoon of vegetable oil in a large skillet over medium‑high heat until shimmering. Add the ground beef, breaking it apart with a spatula, and cook until it’s no longer pink, about 4–5 minutes. This sear locks in flavor and moisture. Keep an eye on it so it doesn’t brown too dark; you want a caramelized exterior, not a burnt one. Once cooked, remove the beef from the pan and set aside.
- In the same skillet, add the remaining tablespoon of oil and sauté the minced garlic and diced onions for 1 minute until fragrant. The garlic should release its aroma but not burn; the onions should become translucent. This step builds the flavor base for the filling. After sautéing, let the mixture cool slightly before adding it to the beef.
- Return the beef to the skillet and stir in the cooked rice, soy sauce, fish sauce, sugar, white pepper, and lime juice. Mix thoroughly until the rice is evenly coated and the mixture has a glossy sheen. This is where the sauce transforms into a glaze that clings to the rice. Let the mixture sit for 2 minutes so the flavors meld; the rice will absorb the sauce.
- Fold in the finely diced carrots, cucumber, bean sprouts, cabbage, lettuce, chopped basil, cilantro, and mint. Stir gently to combine without crushing the veggies. The mixture should be moist but not soggy. If it feels dry, add a teaspoon of water or more sauce to reach the right consistency. This step ensures each roll is packed with flavor and texture.
- Lay a spring roll wrapper on a clean, flat surface. Place a heaping spoonful of the filling near the center of the wrapper. The amount should be enough to fill the roll without overflowing. This is where precision matters; too much filling and the wrapper will tear.
- Fold the sides of the wrapper over the filling, then roll tightly from the bottom up, sealing the edge with a dab of water. The roll should be snug but not overly tight; you want the filling to stay inside but still allow the wrapper to seal. If the wrapper cracks, add a little more water to the seam. This rolling technique gives the roll its classic shape.
- Heat 1 tablespoon of oil in a skillet over medium heat. Place the rolls seam‑side down and sear until the edges are golden brown, about 2 minutes. Flip and sear the other side until it’s also golden and the filling is steaming. The sear gives the rolls a satisfying crunch and locks in the juices. Watch the heat closely; too high and the wrapper will burn before the filling cooks.
- Remove the rolls from the skillet and let them rest for 1 minute before serving. This brief rest allows the juices to redistribute, keeping the filling moist. Plate the rolls on a warm platter, drizzle a little extra sauce over the top if desired, and garnish with a few basil leaves. Serve immediately with a side of sweet chili sauce or a simple cucumber salad for a complete meal. The aroma alone will have everyone lining up for seconds.
That's it—you did it! But hold on, I've got a few more tricks that'll take this to another level. These insider tips will help you perfect the technique and elevate the flavor profile even further.
Insider Tricks for Flawless Results
The Temperature Rule Nobody Follows
Many cooks assume any pan will do, but the temperature is critical for a crisp wrapper and juicy filling. Heat the skillet to a medium‑high setting until the oil shimmers but isn’t smoking. A quick test is to flick a drop of water onto the pan; if it sizzles instantly, the heat is correct. If the pan is too hot, the wrappers will burn before the filling cooks. If it’s too cool, the rolls will come out soggy and the sauce won’t caramelize.
Why Your Nose Knows Best
Your sense of smell is your most reliable indicator of doneness. When the beef is cooked, it should release a deep, meaty aroma. The sauce should start to bubble and thicken, giving off a sweet, salty scent. If you notice a raw or metallic smell, the beef still needs a few more minutes. Trust your nose, and you’ll avoid over‑cooking.
The 5-Minute Rest That Changes Everything
After you finish searing the rolls, let them rest on a paper towel for five minutes. This step allows the steam to escape, preventing the wrappers from becoming soggy. The rest also lets the flavors settle, giving the basil and lime a chance to meld. I’ve seen rolls that rest for longer, but five minutes is enough to keep them crisp and flavorful.
The Secret of the Sauce’s Shine
The sauce’s glossy sheen is what gives the rolls their restaurant‑quality look. To achieve this, reduce the sauce over low heat for a couple of minutes before adding the rice. The reduction thickens the sauce, allowing it to cling to the rice grains. A glossy glaze also signals that the sugars have caramelized, adding depth to the flavor.
The Quick‑Fold Trick
If you’re short on time, use the quick‑fold method: lay the filling on the wrapper, fold the bottom over, then roll up, sealing the seam with water. This method is faster but still gives a neat roll. It’s perfect for busy evenings or when you’re feeding a large group. Just be careful not to overfill, or the wrapper will tear.
The Final Touch of Freshness
Right before serving, sprinkle a handful of fresh basil leaves on top of the rolls. The basil’s oils will release, adding a burst of aroma that lingers on the palate. A few drops of lime juice over the top will brighten the dish even further. If you’re serving a crowd, keep the fresh herbs in a bowl and let guests add them themselves for a personalized experience.
Creative Twists and Variations
This recipe is a playground. Here are some of my favorite ways to switch things up:
Spicy Peanut Roll
Add a tablespoon of creamy peanut butter to the filling and replace the lime juice with a splash of coconut milk. The result is a nutty, slightly sweet roll that pairs beautifully with a spicy peanut sauce. This version is perfect for those who love a bold, tropical flavor profile. Serve with a side of cucumber relish to cut through the richness.
Veggie‑Rich Buddha Roll
Swap the ground beef for finely shredded tempeh or tofu, and increase the veggie content by adding bell pepper strips and shredded zucchini. The tofu will soak up the sauce, becoming tender and flavorful. This vegetarian version retains the same texture and aroma, making it a crowd‑pleaser at family dinners. Add a drizzle of sesame oil for extra depth.
Mushroom Umami Roll
Use sliced shiitake mushrooms instead of beef for a deep umami flavor. Sauté the mushrooms until they release their juices and become caramelized. The result is a rich, earthy roll that’s surprisingly filling. Pair it with a miso broth for a comforting meal.
Citrus Twist Roll
Replace the lime juice with a splash of orange or grapefruit juice for a citrusy brightness. Add thinly sliced orange peel for a fragrant aroma. This variation brings a sweet and tangy profile that complements the savory filling. It’s a great way to celebrate the citrus season.
Breakfast Roll
Serve the rolls with a side of scrambled eggs and a drizzle of hot sauce for a hearty breakfast. The protein from the beef and the eggs make for a filling start to the day. Add a sprinkle of chives for a fresh green note. This breakfast version is perfect for weekend brunches.
Gluten‑Free Roll
Use gluten‑free spring roll wrappers or rice paper instead of wheat‑based wrappers. The texture may be slightly more delicate, but the flavor remains intact. Make sure to keep the wrappers moist to prevent cracking. This version is ideal for those with gluten sensitivities.
Storing and Bringing It Back to Life
Fridge Storage
Store the assembled rolls in an airtight container in the refrigerator for up to two days. Before serving, let them sit at room temperature for 15 minutes to soften the wrappers slightly. If they feel too firm, lightly steam them for a minute to restore their original texture. This method preserves the crispness while keeping the filling fresh.
Freezer Friendly
Wrap each roll tightly in plastic wrap and place them in a freezer bag. They can be frozen for up to a month. To reheat, thaw overnight in the refrigerator and then finish in a hot skillet for 2 minutes on each side. The reheating process will restore the crisp exterior and keep the filling juicy.
Best Reheating Method
The secret to reheating these rolls without drying them out is to add a splash of water to the skillet before you reheat. This creates steam that gently warms the filling while keeping the wrapper moist. After heating, let them rest for a minute before serving. This simple trick ensures each roll tastes as fresh as when you first cooked it.