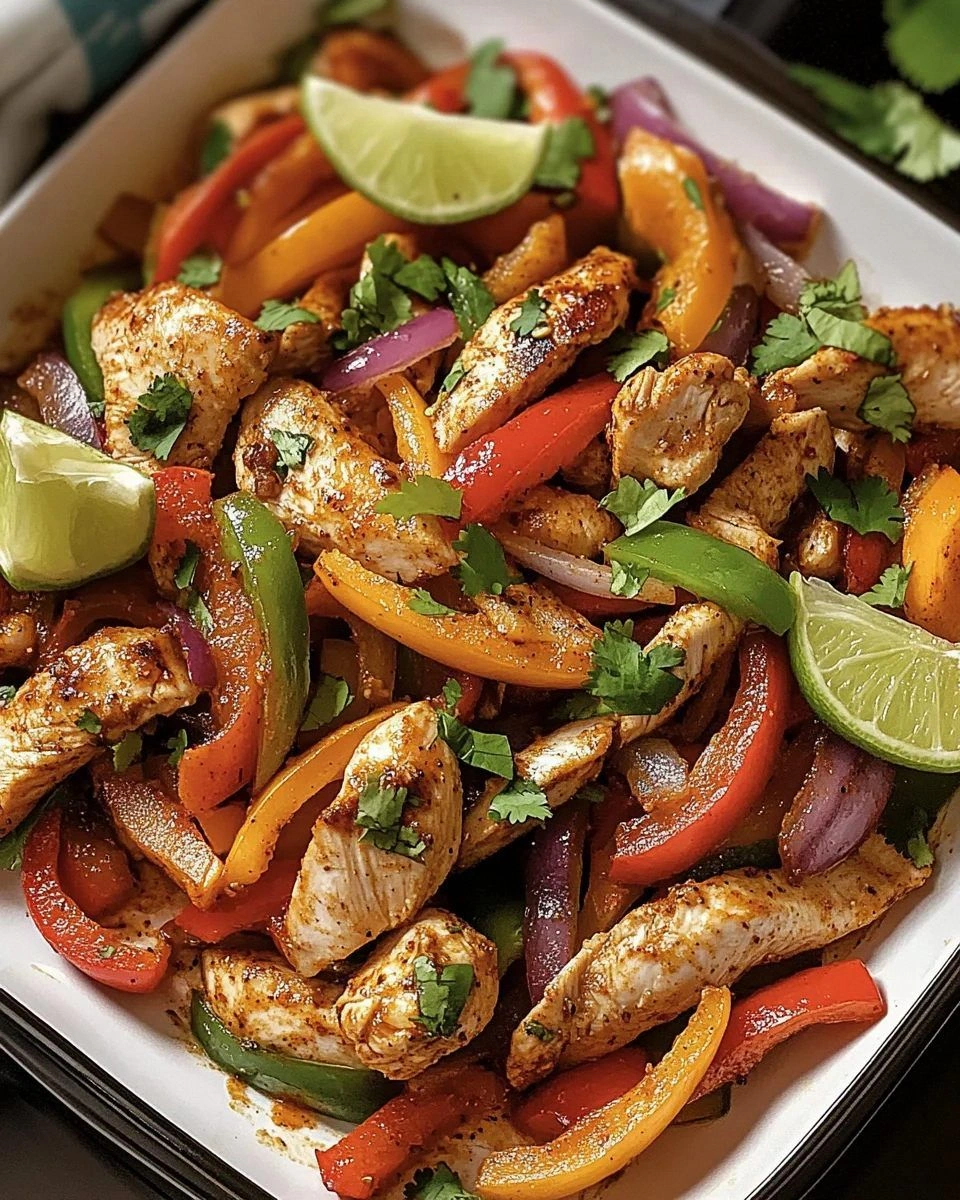
Picture this: it’s a Tuesday night, the sink is piled high with dishes from a frantic weekday dinner, and you’re staring at a half‑empty bag of chicken wondering if you’ll ever get a decent Mexican‑flavored meal without spending an hour chopping, sautéing, and cleaning up. I was there, too, until I dared myself to throw everything onto a single sheet pan and let the oven do the heavy lifting. The result? A plate of sizzling, caramelized chicken and peppers that practically jump into a tortilla, begging you to take a bite. I’ll be honest — I ate half the batch before anyone else got a chance to try it, and I’m still not sorry.
The moment the pan slides into the oven, the kitchen fills with a smoky perfume that makes your stomach do a little happy dance. You can hear the faint hiss of the oil as the chicken juices hit the hot metal, and the colors of the peppers turn from bright to a deep, almost caramel‑kissed amber. The texture is a glorious contrast: the chicken stays juicy inside while the edges get that perfect, slightly crisp char that only a hot sheet pan can deliver. When you finally pull the pan out, the lime juice you drizzle over the top sizzles and releases a burst of citrus that lifts the whole dish into a fiesta of flavor.
Most fajita recipes get this completely wrong — they either overcook the chicken, leave the veggies soggy, or require a cascade of pans and bowls that turn a quick dinner into a marathon. This version stands out because it balances bold, smoky seasoning with the simplicity of a one‑pan approach, and it does it all in under an hour. The secret weapon? A splash of lime and a sprinkle of fresh cilantro added at the very end, which brings a bright pop that cuts through the richness and keeps the flavors from getting stale.
Okay, ready for the game‑changer? I’m about to walk you through every single step — from picking the perfect chicken breast to the final garnish that makes this dish unforgettable. By the end, you’ll wonder how you ever made fajitas any other way.
What Makes This Version Stand Out
- Flavor Explosion: The blend of store‑bought fajita seasoning with smoked paprika and a squeeze of fresh lime creates a layered taste that’s smoky, tangy, and just a touch sweet. It coats every strip of chicken like a flavor‑filled blanket.
- Texture Triumph: The high heat of the oven gives the chicken a caramelized crust while keeping the interior moist, and the peppers develop that perfect char‑kissed softness without turning mushy.
- One‑Pan Simplicity: No juggling multiple pans or stovetop burners. Everything cooks together, which means fewer dishes and more time to enjoy the meal.
- Ingredient Accessibility: All the components are pantry‑friendly — you probably already have the spices, and the fresh veggies are easy to find year‑round.
- Crowd‑Pleaser Factor: I dare you to taste this and not go back for seconds. Even the pickiest eaters love the bold seasoning and the hands‑on fun of assembling their own tacos.
- Make‑Ahead Magic: You can prep the chicken and veggies the night before, store them in the fridge, and then just pop the pan in the oven when you’re ready to eat.
- Versatile Base: Use the same pan‑roasted mixture for tacos, burrito bowls, or even a fajita‑style salad — the possibilities are endless.
- Budget‑Friendly: By using a single sheet pan and a modest amount of oil, you keep the cost low without compromising on taste.
Inside the Ingredient List
The Flavor Base
The heart of any great fajita is the seasoning blend. We’re using a store‑bought fajita mix because it’s a reliable shortcut, but we boost it with smoked paprika, garlic powder, and onion powder for depth. The smoked paprika adds that subtle wood‑smoke note that makes you think the pan was on a grill, while the garlic and onion powders round out the savory profile. Skipping these extras would leave the dish tasting flat, like a bland taco night that never quite hits the spot.
The Texture Crew
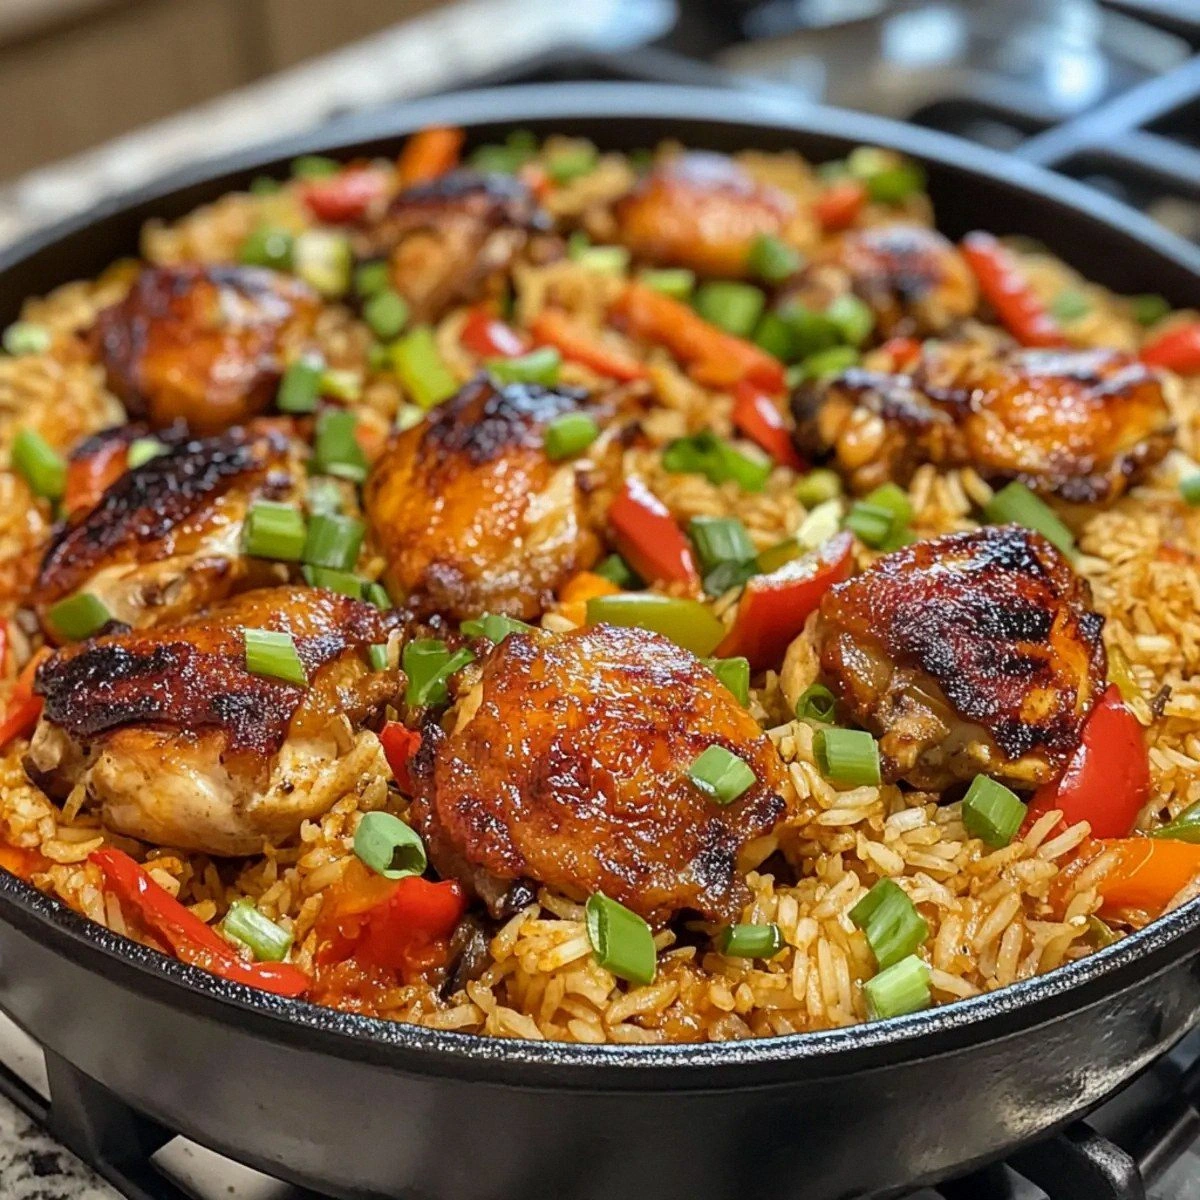
Chicken breast strips provide lean protein that stays tender when cooked quickly at high heat. If you opt for thighs, you’ll get more juiciness but also extra fat, which can change the crisp‑edge we’re after. The bell peppers — one red, one green — bring sweetness and a slight crunch that survives the roasting process. Slice them uniformly (about ½‑inch strips) so they cook at the same rate as the chicken. The onion adds a caramelized sweetness that balances the pepper’s brightness.
The Unexpected Star
Lime juice is the surprise hero that lifts the entire dish. Adding it right after the roast prevents the acid from cooking the chicken, which would make it rubbery. Instead, it brightens the smoky flavors and adds a refreshing zing that makes each bite feel like a mini celebration. If you’re out of fresh lime, a splash of lime zest plus a teaspoon of vinegar can mimic the effect, but nothing beats the real thing.
The Final Flourish
Fresh cilantro, chopped just before serving, adds an herbaceous note that ties the whole plate together. The tortillas, lightly warmed, act as the perfect vehicle for the juicy chicken and veggies. For a gluten‑free twist, swap the flour tortillas for corn or lettuce wraps. A dollop of sour cream or a slice of avocado adds creaminess, but those are optional — the dish shines on its own.
Everything's prepped? Good. Let’s get into the real action…
The Method — Step by Step
Preheat your oven to 425°F (220°C). While the oven warms up, line a large rimmed sheet pan with parchment paper — this prevents sticking and makes cleanup a breeze. The high temperature is crucial; it creates that coveted char on the chicken and peppers without overcooking the interior. Let the pan sit empty for a minute or two; the heat will radiate, ensuring everything sizzles the moment it makes contact.
Slice the chicken breasts into ½‑inch strips. In a large zip‑top bag, combine the chicken, 2 tablespoons of olive oil, 2 tablespoons of fajita seasoning, 1 teaspoon smoked paprika, ½ teaspoon garlic powder, and ½ teaspoon onion powder. Seal the bag and shake vigorously for about 30 seconds. This method guarantees every piece is evenly coated, eliminating the dreaded “spice‑free” spots that can ruin the flavor balance.
Kitchen Hack: If you’re short on time, use a shallow dish instead of a bag; just toss and turn the chicken with a spatula until coated.While the chicken marinates, slice the bell peppers and onion into uniform strips. Toss them in a second zip‑top bag with the remaining 1 tablespoon of olive oil, a pinch of salt, and a dash of black pepper. The extra oil helps the veggies caramelize without steaming, and the salt draws out a little moisture, which then evaporates, intensifying the natural sweetness.
Spread the seasoned chicken in a single layer on one half of the prepared sheet pan. On the other half, arrange the pepper‑onion mixture, making sure the pieces aren’t overlapping. Overcrowding is the biggest enemy of a good sear; it turns the pan into a steamer and you’ll end up with soggy veggies instead of that coveted char.
Watch Out: Do not stack the chicken and veggies; give them space to breathe, or you’ll lose the crisp edges that make this dish shine.Slide the pan into the preheated oven. Roast for 12 minutes, then give everything a quick toss with a spatula to ensure even browning. Return to the oven for another 8‑10 minutes, or until the chicken reaches an internal temperature of 165°F (74°C) and the pepper edges start to blister. You’ll know it’s ready when the chicken pieces pull away from the pan with a faint, caramelized crust.
While the fajita mixture finishes cooking, warm the tortillas. Stack them on a separate baking sheet, brush lightly with a drizzle of oil, and place them in the oven for the last 3‑4 minutes of cooking time. They’ll become pliable and slightly toasted, perfect for holding all that juicy goodness without tearing.
Remove the pan from the oven and immediately drizzle the fresh lime juice over the chicken and veggies. The steam that rises carries the citrus aroma throughout the kitchen — that’s the moment of truth when the dish transforms from good to unforgettable. Sprinkle the chopped cilantro on top, giving the plate a pop of green that signals freshness.
Kitchen Hack: If you like extra zing, zest the lime before juicing it and toss the zest into the pan for an added layer of aroma.Serve the sizzling chicken and peppers straight from the pan, letting each guest assemble their own tacos with a warm tortilla, a dollop of sour cream, sliced avocado, and a splash of salsa if desired. This interactive element turns dinner into a fun, communal experience that keeps everyone engaged and satisfied.
That’s it — you did it. But hold on, I’ve got a few more tricks that’ll take this to another level, from crispier edges to a secret sauce that will have everyone begging for the recipe.
Insider Tricks for Flawless Results
The Temperature Rule Nobody Follows
Most home cooks set the oven to a moderate 375°F, thinking it will keep the chicken moist. In reality, the higher 425°F heat creates a rapid Maillard reaction, which is the scientific term for that beautiful brown crust we all crave. Trust me, the extra heat is the secret to that restaurant‑style char without drying out the meat. If you’re using a convection oven, you can drop the temperature by 25°F and still achieve the same effect.
Why Your Nose Knows Best
The moment you catch that smoky, citrusy aroma rising from the pan, you’re at the perfect point to check the chicken. Your nose is a better indicator than a timer because it senses the caramelization level. If the scent is sweet with a hint of char, the chicken is likely done. If you still smell raw poultry, give it another minute or two. This sensory shortcut prevents overcooking and keeps the meat juicy.
The 5‑Minute Rest That Changes Everything
After you pull the pan from the oven, let the chicken and veggies rest for exactly five minutes before serving. This brief pause allows the juices to redistribute, preventing them from spilling out onto the plate when you bite in. It also gives the lime juice a chance to fully permeate the meat, deepening that bright, tangy flavor.
Don’t Forget the Tortilla Trick
Warm tortillas directly on the oven rack for the last 3 minutes of cooking, then wrap them in a clean kitchen towel. The steam trapped inside makes them soft yet pliable, preventing cracks when you fold them around the filling. If you prefer a crisp edge, briefly toast them on a dry skillet after warming.
Seasoning Layers for Maximum Punch
Instead of dumping all the spices at once, split them: half goes into the bag with the chicken, and the other half is sprinkled over the veggies just before they go in the oven. This double‑layer approach ensures every bite, whether it’s chicken or pepper, carries a full‑bodied flavor profile. One time a friend tried to skip the second sprinkle and complained the veggies tasted “flat” — lesson learned.
Creative Twists and Variations
This recipe is a playground. Here are some of my favorite ways to switch things up:
Chipotle‑Infused Heat
Add a teaspoon of chipotle powder to the seasoning mix for a smoky, spicy kick. The smoky depth pairs beautifully with the lime, creating a flavor profile that’s perfect for heat‑seekers.
Mango Salsa Splash
Breakfast Fajita Remix
Replace the chicken with sliced breakfast sausage and serve the mixture with scrambled eggs inside the tortillas. Top with shredded cheese and a drizzle of hot sauce for a hearty morning twist.
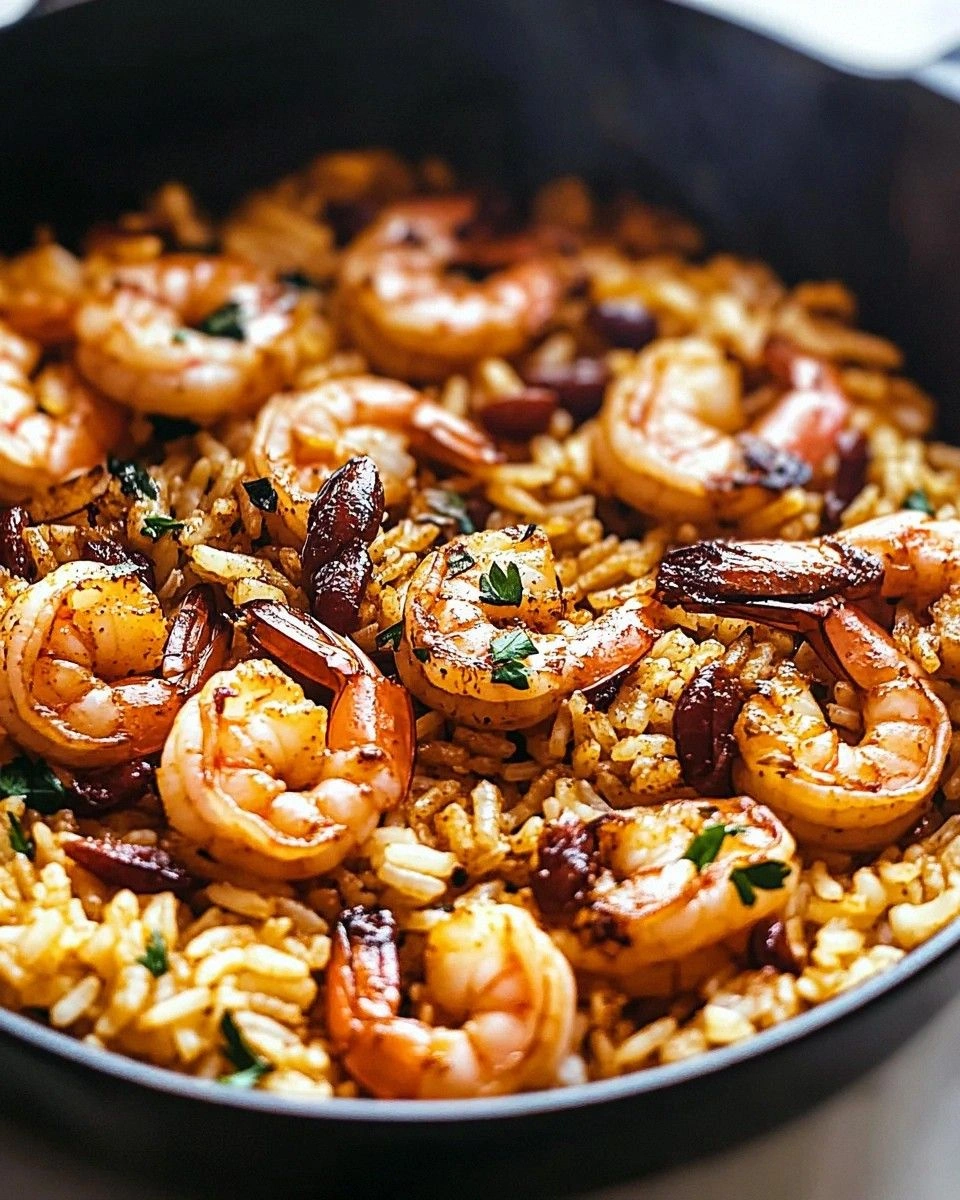
Shrimp Sheet Pan Version
Swap the chicken for peeled, deveined shrimp. Because shrimp cooks faster, reduce the oven time to 8‑10 minutes, and add a pinch of Old Bay seasoning for a coastal flair.
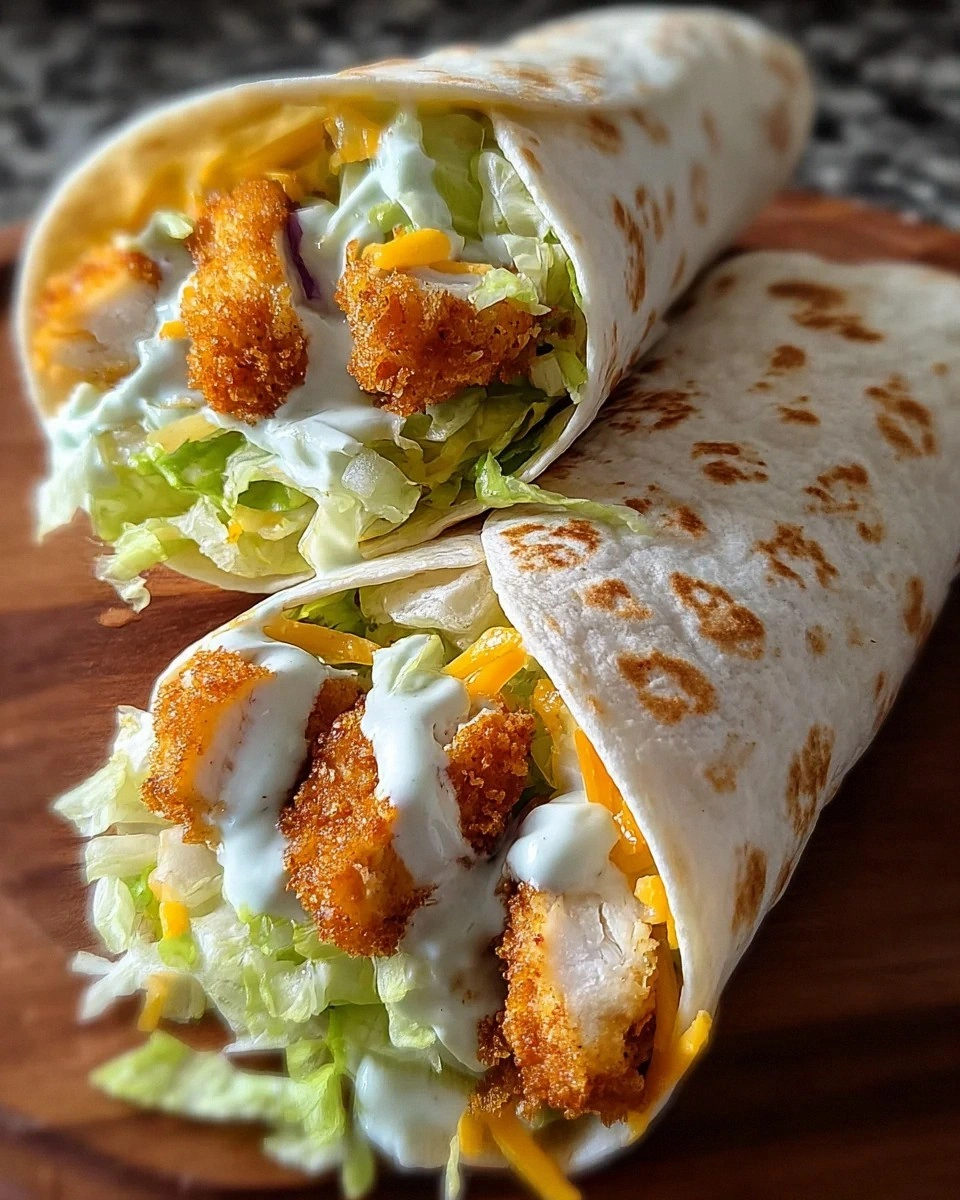
Low‑Carb Lettuce Wraps
Skip the tortillas altogether and use large butter lettuce leaves as wraps. The crisp lettuce adds a fresh crunch that complements the warm, smoky filling, making it a perfect light dinner.
Cheesy Overload
Scatter shredded Monterey Jack or pepper jack cheese over the chicken and peppers during the last two minutes of baking. The cheese melts into gooey pockets, adding a creamy richness that takes the dish to indulgent heights.
Storing and Bringing It Back to Life
Fridge Storage
Allow the fajita mixture to cool to room temperature, then transfer it to an airtight container. It will keep beautifully for up to three days. When ready to eat, reheat in a skillet over medium heat, adding a splash of water to revive the steam and prevent drying.
Freezer Friendly
Portion the cooked chicken and veggies into freezer‑safe bags, removing as much air as possible. They freeze well for up to two months. To reheat, thaw overnight in the fridge, then pop the contents onto a hot sheet pan for 8‑10 minutes, or microwave with a damp paper towel for quick convenience.
Best Reheating Method
For the ultimate texture, reheat the leftovers in a preheated 350°F (175°C) oven for about 10 minutes, uncovered. Add a tiny splash of water (about a tablespoon) before reheating; the steam it creates revives the crisp edges and keeps the chicken juicy.