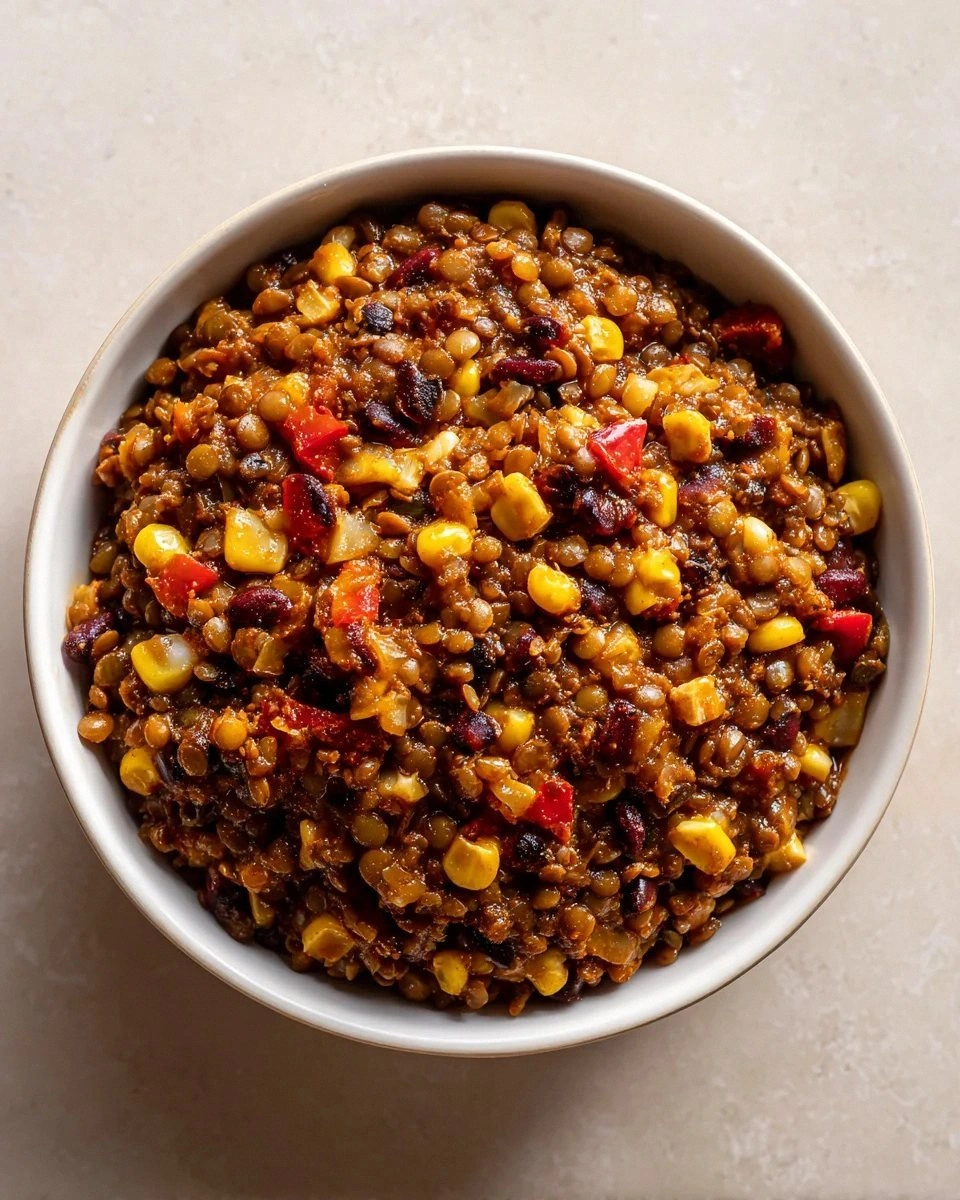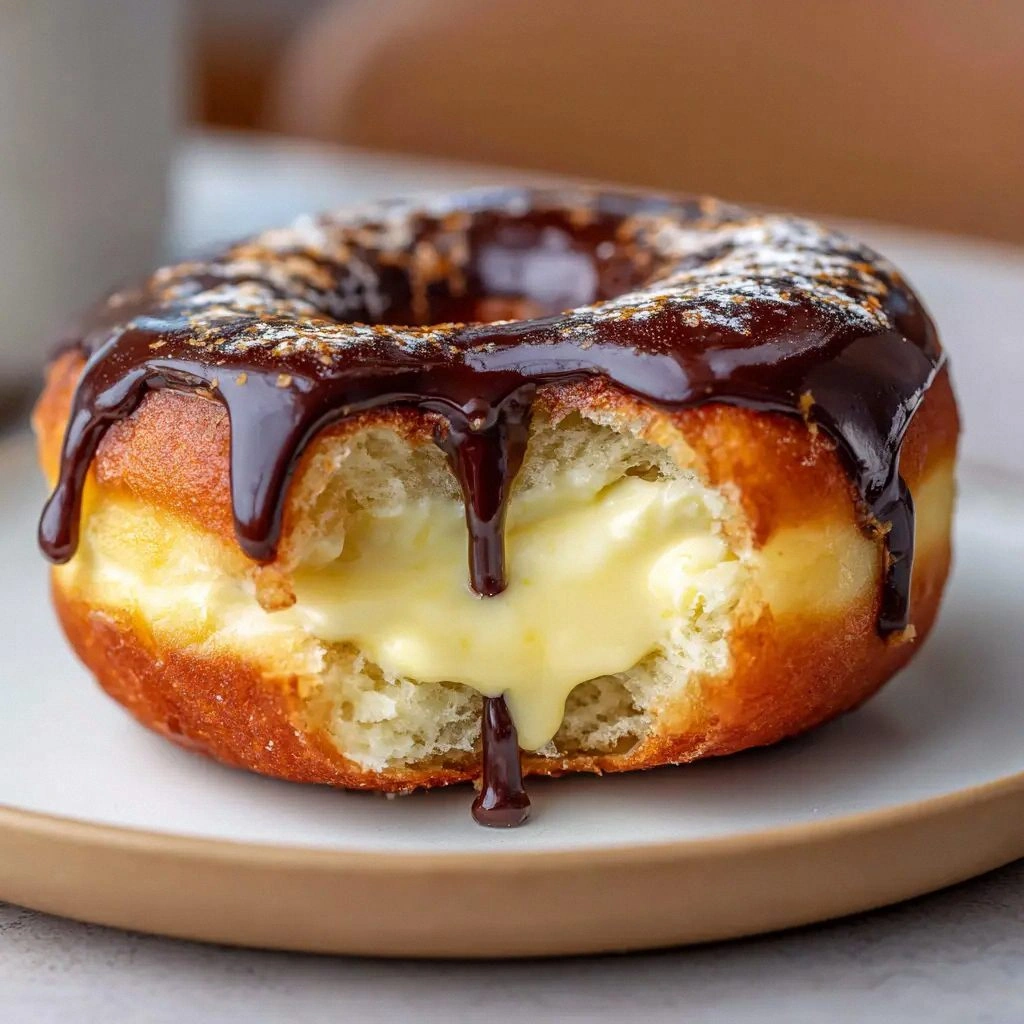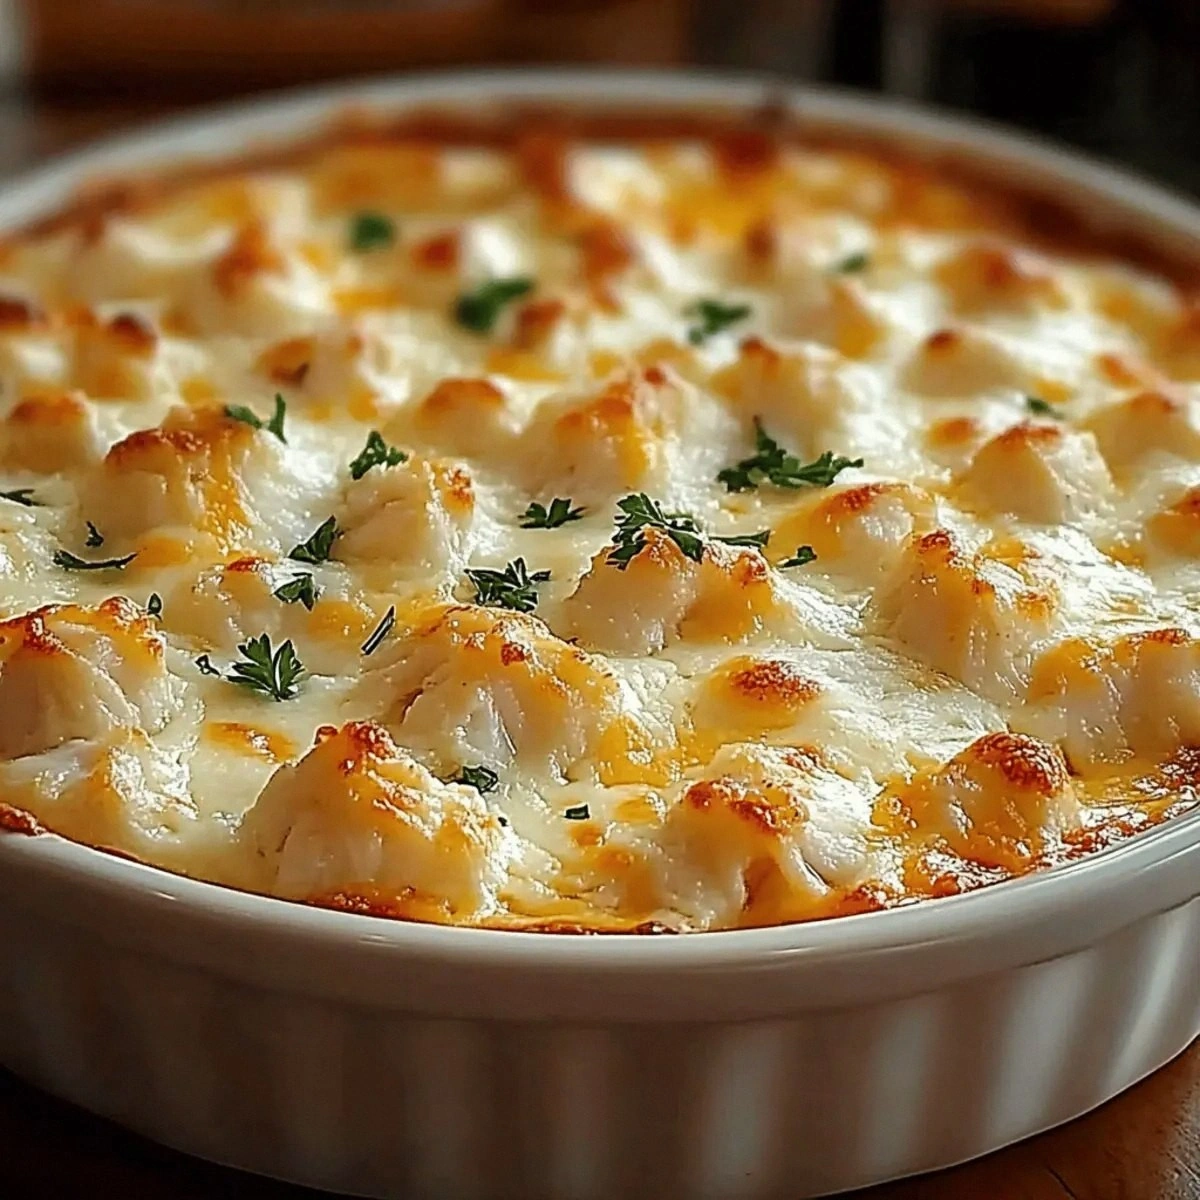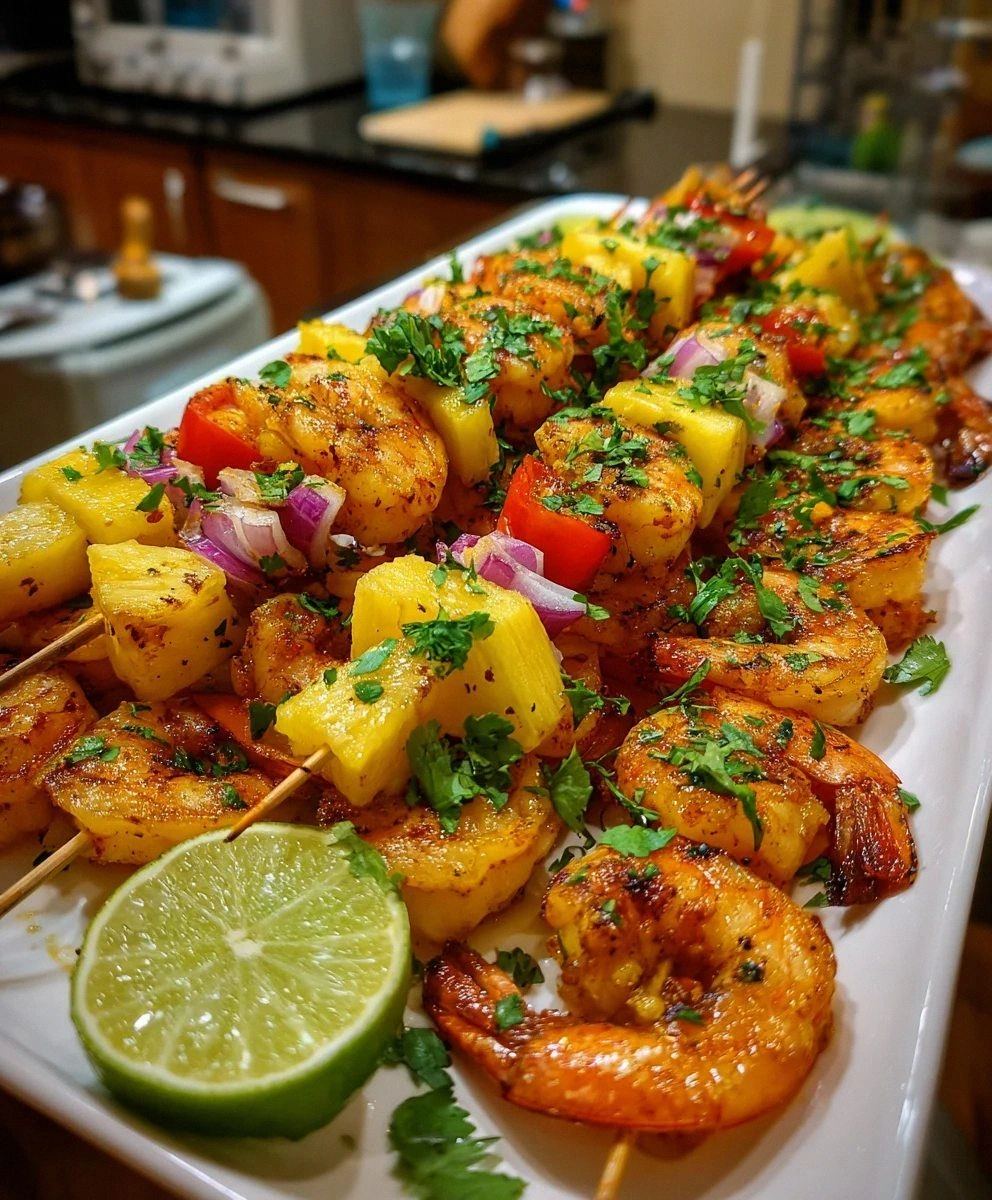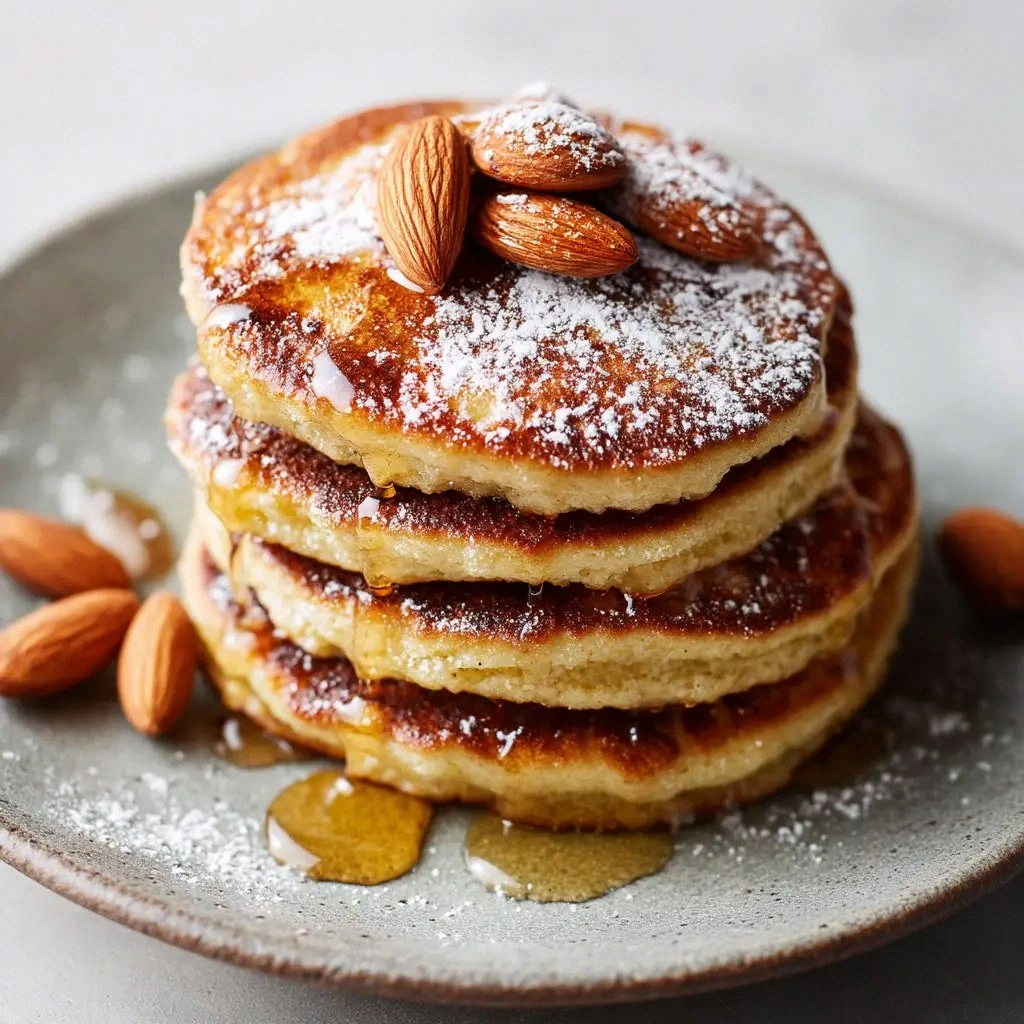
I remember the night I nearly set my kitchen on fire chasing that elusive “fluffy” pancake dream. A half‑baked batch of ordinary flour‑based pancakes stared back at me, golden on the outside but dense and soggy inside, and I swear I could hear the pancake batter sigh. I was tired of the same bland breakfast, so I dared myself to experiment with something that would break the cycle of disappointment. That night, I reached for a bag of almond flour, a staple in my pantry that promised nutty flavor and gluten‑free comfort. I mixed it with eggs, almond milk, maple syrup, vanilla, baking powder, and a pinch of salt, and the batter took on a silky texture that felt like a secret sauce waiting to be poured onto a griddle.
When the first pancake hit the skillet, the sizzle was like applause from a tiny orchestra. The aroma was nutty, sweet, and faintly buttery, almost like a warm hug from the inside out. The batter spread like a smooth, glossy river across the pan, and as it cooked, the edges lifted and curled, turning crisp on the outside while the center stayed pillowy. I tasted a bite and realized that this wasn’t just a pancake; it was a revelation. The almond flour gave it a subtle crunch, the eggs added body, and the maple syrup tied everything together with a gentle caramel note. I could taste the vanilla’s subtle whisper, and the baking powder ensured the rise was airy, not dense.
This version stands out because it does more than just replace wheat with almond flour. It turns a breakfast staple into a gourmet experience that even the most skeptical gluten‑free diners will applaud. It’s a recipe that respects the constraints of gluten intolerance while still delivering the indulgent feel of a classic pancake. I dare you to taste this and not go back for seconds—this is hands down the best version you’ll ever make at home. And if you’re wondering why it feels so light yet so satisfying, the secret lies in the ratio of almond flour to eggs and the gentle heat of the skillet. Picture yourself pulling this out of the pan, the whole kitchen smelling incredible, and the first bite delivering that perfect combination of crunch and cloud.
If you’ve ever struggled to get the right texture, you’re not alone—gluten‑free pancakes can be tricky. But I’ve cracked the code, and I’m about to walk you through every single step. By the end, you’ll wonder how you ever made it any other way. And trust me, the moment you flip the first pancake, you’ll know you’ve entered pancake nirvana.
What Makes This Version Stand Out
- Flavour: The subtle nutty undertone of almond flour combined with vanilla and maple syrup creates a layered taste that’s far more complex than plain pancakes.
- Texture: The batter’s silky consistency gives each pancake a tender crumb, while the edges turn crisp without burning, offering that satisfying contrast.
- Simplicity: Only seven ingredients, all pantry staples, and a single pan—no fancy equipment or time‑consuming prep.
- Gluten‑free: Perfect for those with celiac disease or anyone looking to cut gluten without sacrificing flavor.
- Versatility: The batter can be tweaked with fruit, chocolate chips, or spices, making it a playground for creativity.
- Make‑ahead Potential: The batter stays fresh in the fridge for up to 48 hours, so you can prep in advance and serve hot on demand.
- Health Conscious: Lower carbs than wheat, higher protein from eggs, and healthy fats from almond milk and butter.
- Kid‑Friendly: Kids love the sweet maple flavor, and the batter is easy enough for a junior chef to help stir.
Alright, let's break down exactly what goes into this masterpiece…
Inside the Ingredient List
The Flavor Base
Maple syrup isn’t just a sweetener; it’s a liquid caramel that caramelizes on the pan, giving the pancakes that golden glaze. If you’re craving a different sweet note, a splash of honey or agave syrup works, but keep the volume the same to avoid altering the batter’s consistency. Swapping maple for brown sugar syrup will give a deeper, molasses‑like flavor that’s a bold choice for adventurous palates.
The Texture Crew
Almond flour is the backbone of this recipe. Its fine texture blends seamlessly with eggs, creating a batter that’s smooth yet light. The eggs bind everything together and provide structure; if you skip them, the pancakes will collapse. A pinch of baking powder is the secret lift—without it, the pancakes will be flat and heavy. Salt is essential; it balances the sweetness and enhances the nutty flavor. If you’re watching sodium, you can reduce the salt by half, but be aware the pancakes may taste slightly flat.
The Unexpected Star
Unsweetened almond milk is the liquid that hydrates the flour and eggs, but it also brings a mild nutty aroma that complements the almond flour. If you prefer a dairy option, coconut milk will work, though it adds a faint coconut flavor. For a richer taste, you could use oat milk, but be mindful that it’s sweeter and may require a slight reduction in maple syrup.
The Final Flourish
Butter or coconut oil is what gives the pancakes that buttery finish and helps them release from the pan without sticking. A tablespoon is enough to coat the skillet and add a subtle flavor. If you’re vegan, a plant‑based butter works just fine, but remember that the flavor profile will shift slightly. The amount of fat is crucial; too little and the pancakes will dry out, too much and they’ll be greasy.
Everything’s prepped? Good. Let’s get into the real action…
The Method — Step by Step
- Start by whisking together the almond flour, baking powder, and salt in a bowl. This dry blend ensures the leavening agent is evenly distributed. I like to sift the flour to remove any clumps; it gives the batter a smoother mouthfeel. As you whisk, you’ll see a light, airy mixture that’s ready to absorb liquid. This is the foundation of our fluffy texture.
- In a separate bowl, beat the eggs with the maple syrup and vanilla extract until frothy. The frothiness introduces air, which will help the pancakes rise. If you’re using a hand mixer, a quick 30‑second whisk does wonders. Taste the mixture; it should be sweet but not syrupy—just a hint of vanilla. This step also ensures the vanilla is evenly distributed, preventing uneven flavor spots.
- Add the almond milk to the egg mixture and whisk until combined. The liquid should flow like a silk ribbon—no lumps. This step hydrates the flour and creates a batter that’s thick but pourable. If the batter feels too thick, add a splash more almond milk; if it’s too thin, add a tablespoon of almond flour. The goal is a consistency similar to heavy cream.
- Gently fold the wet mixture into the dry ingredients. Use a spatula to stir until just combined; over‑mixing will develop gluten‑like strands, making the pancakes chewy. The batter should be smooth, with no large pockets of flour. This is the moment of truth—watch the batter’s texture transform from grainy to silky.
- Heat a non‑stick skillet over medium heat and add the tablespoon of butter or coconut oil. Let the fat melt until it’s shimmering but not smoking. When the butter starts to bubble, pour a ladleful of batter onto the skillet. The batter should spread evenly, forming a circle about 4 inches in diameter. The sizzle you hear is the batter beginning to set.
- Cook for 2‑3 minutes on the first side. The edges will lift slightly, and bubbles will form on the surface. When the underside is golden and the top has set, flip gently with a spatula. The second side should take 1‑2 minutes—watch for a golden crust. The final flip is the moment the pancake feels light and airy when you lift it.
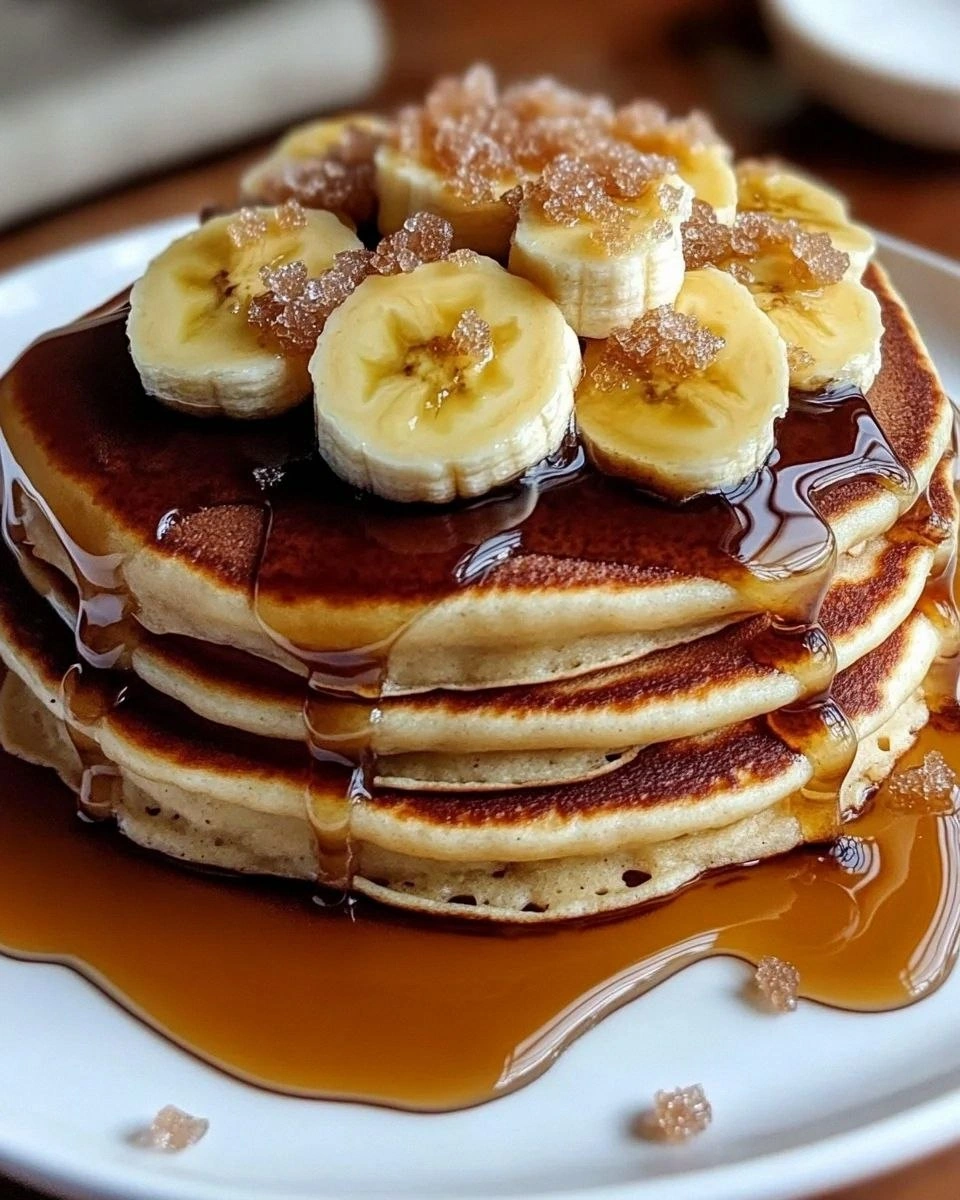
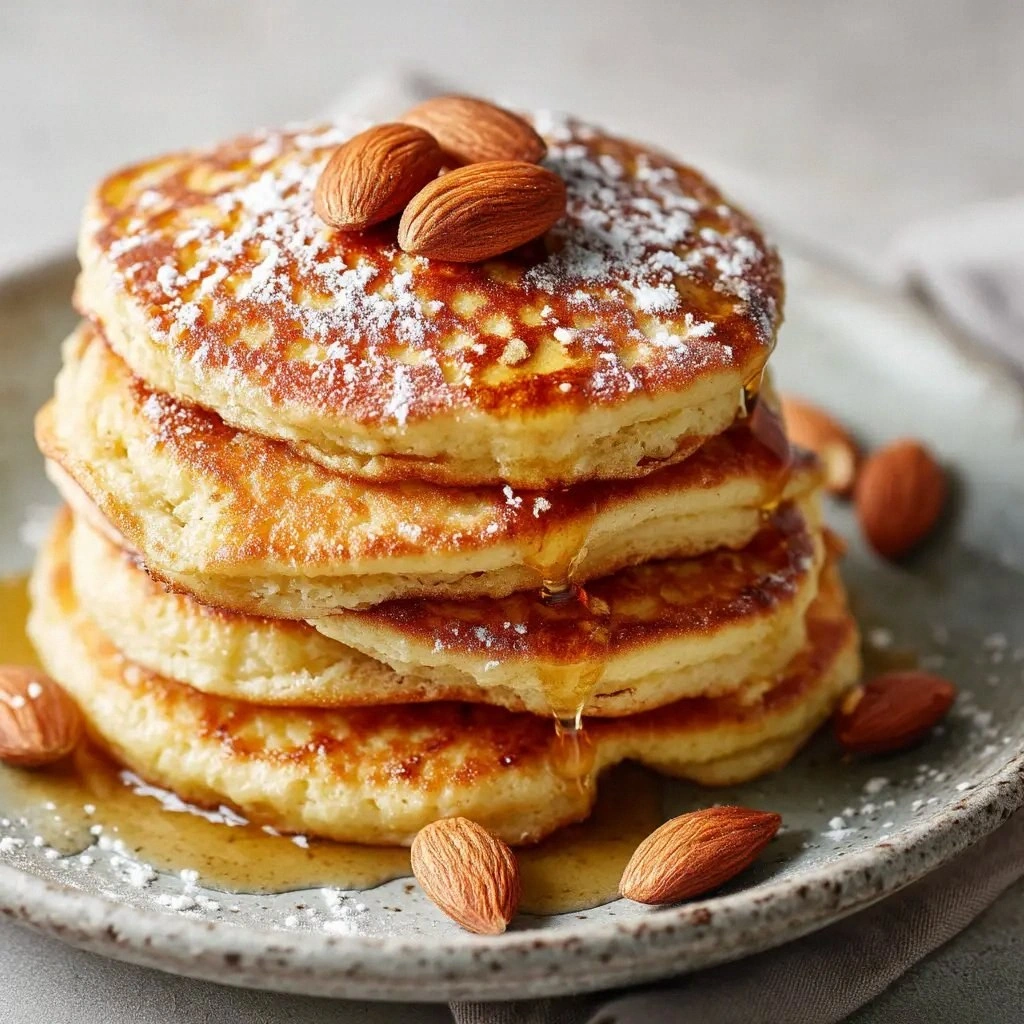
- Repeat with the remaining batter, adjusting the heat if the pancakes start to burn. Stack them on a plate and cover loosely with foil to keep them warm. The final result should be a stack of golden, pillowy pancakes with a crisp edge that shatters like thin ice when you bite.
That’s it — you did it. But hold on, I’ve got a few more tricks that’ll take this to another level. These insider tips will elevate the texture, flavor, and presentation, ensuring every bite is a masterpiece.
Insider Tricks for Flawless Results
The Temperature Rule Nobody Follows
Many cooks set the heat to high and then lower it, but the best pancakes start at medium and stay there. Medium heat allows the batter to set slowly, creating a golden crust without burning the outside. I’ve seen pancakes that are perfectly cooked on the inside but charred on the edges—this trick eliminates that. If you’re using a cast iron pan, pre‑heat for a minute before adding butter; this ensures a consistent temperature.
Why Your Nose Knows Best
The aroma of a pancake batter cooking is a subtle indicator of readiness. As the batter cooks, the scent of toasted almond and caramelized maple will rise. When the smell hits your nose, it means the underside is golden. Trust your nose; it’s a reliable cue that the pancake is ready to flip.
The 5‑Minute Rest That Changes Everything
After mixing, let the batter rest for 5 minutes. This rest allows the almond flour to fully absorb the liquid, resulting in a smoother batter. The resting period also lets the baking powder activate, ensuring the pancakes rise evenly. A quick rest is the secret to that perfect airy crumb.
The Butter or Oil Switcheroo
If you’re on a low‑fat diet, replace butter with a tablespoon of avocado oil. It’s neutral in flavor and still gives a crisp edge. Conversely, if you crave richness, melt a bit of ghee into the butter for a nutty, buttery finish. The choice of fat dramatically changes the mouthfeel.
The “Scoop” Technique
Instead of pouring the batter, use a small cookie scoop to portion it. This ensures uniform pancake size and thickness, leading to even cooking. The scoop also makes the pancakes look more restaurant‑quality, which is great for impressing guests.
The Quick Cooling Trick
If you’re making a large batch, place the cooked pancakes on a wire rack to cool slightly before stacking. This prevents them from becoming soggy at the base. A quick cool keeps the texture crisp and ready for serving.
Creative Twists and Variations
This recipe is a playground. Here are some of my favorite ways to switch things up:
Berry‑Burst Pancakes
Fold fresh blueberries or raspberries into the batter before cooking. The berries burst with juice, adding a tangy contrast to the sweet base. Serve with a drizzle of lemon‑infused maple syrup for a citrusy kick.
Chocolate Chip Delight
Swirl in a handful of dark chocolate chips into the batter. The chocolate melts into pockets of gooey sweetness, making each bite a chocolate adventure. Pair with a dusting of cocoa powder for an extra chocolatey finish.
Spiced Cinnamon Swirl
Add a teaspoon of ground cinnamon and a pinch of nutmeg to the dry mix. The spices give a warm, autumnal flavor that pairs beautifully with a dollop of whipped coconut cream.
Savory Herb Pancakes
Replace maple syrup with a splash of tomato juice and add chopped fresh herbs like thyme or rosemary. These pancakes are perfect as a side for breakfast meats or as a base for a savory breakfast sandwich.
Coconut‑Infused Pancakes
Swap almond milk for coconut milk and sprinkle shredded coconut on top before cooking. The coconut adds a tropical aroma and a chewy texture that contrasts with the fluffy interior.
Pumpkin Spice Pancakes
Mix in a quarter cup of pumpkin puree and a pinch of pumpkin pie spice. The puree keeps the batter moist while adding a sweet, earthy flavor that’s perfect for fall.
Storing and Bringing It Back to Life
Fridge Storage
Store leftover pancakes in an airtight container in the refrigerator for up to 3 days. To keep them from drying out, layer them with parchment paper between each pancake. When ready to serve, reheat in a skillet over low heat with a splash of almond milk to restore moisture.
Freezer Friendly
Freeze pancakes in a single layer on a baking sheet until solid, then transfer to a freezer bag. They’ll last up to 2 months. Thaw overnight in the refrigerator or microwave on the defrost setting. Reheat in a skillet for a minute on each side to revive crispness.
Best Reheating Method
The secret to perfect reheated pancakes is a quick pan‑toasting. Warm a non‑stick skillet over medium heat, add a small pat of butter, and place the pancakes inside. Flip once, then remove. The tiny splash of water before reheating steams the pancakes back to perfection, keeping them moist inside while crisp outside.