The Timeless Love for Nestle Chocolate Chip Cookies
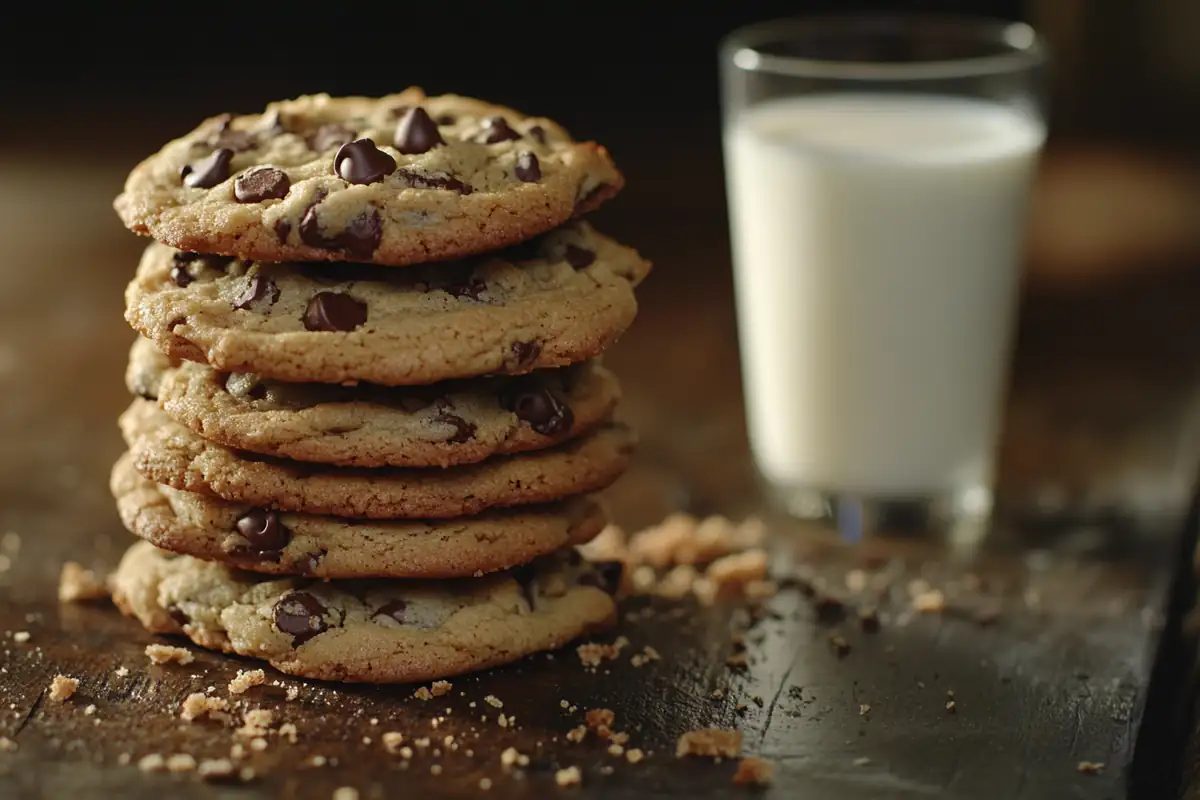
The Original Nestle Chocolate Chip Cookie Recipe – Best Classic Treat has been a family favorite for generations. These soft, chewy cookies with melty chocolate chips are the perfect homemade dessert for any occasion.
For generations, these cookies have been a staple in American kitchens, filling homes with their warm, comforting aroma. Whether you’re baking for a cozy night in, a family gathering, or just a well-earned treat, this recipe always delivers pure joy.
But what makes this classic treat so timeless? Let’s dig into the secrets behind its magic!
Table of Contents
Why This Recipe Stands the Test of Time
The Original Nestle Toll House Chocolate Chip Cookie Recipe remains a favorite because:
- It’s Foolproof: Even beginner bakers can achieve delicious, bakery-quality cookies with this recipe.
- Perfect Texture Every Time: A crispy edge with a soft, gooey center—the ideal balance.
- Simple Ingredients, Big Flavor: Made with everyday pantry staples but packed with rich taste.
- Versatile and Customizable: Love dark chocolate? Want to add nuts? This recipe adapts to your taste.
It’s no wonder that no matter how many cookie recipes come and go, the Original Nestle Chocolate Chip Cookie Recipe remains the gold standard!
Who Will Love These Classic Cookies?
These cookies are for everyone, but here’s who will love them the most:
- Baking Beginners: A simple, no-fail recipe that always turns out great.
- Busy Parents: Quick to whip up and guaranteed to be a hit with the kids.
- Dessert Lovers: If you crave rich, buttery cookies bursting with chocolate, this one’s for you.
- Grandma’s Kitchen Enthusiasts: If you believe that baking should feel nostalgic and heartwarming, these cookies bring back those homey memories.
Key Features of the Original Nestle Recipe
- Golden-brown perfection with a slightly crisp edge.
- Melt-in-your-mouth texture with warm, gooey chocolate chips.
- Classic vanilla and brown sugar flavor that’s sweet but balanced.
- Easily adaptable to add nuts, white chocolate, or even a sprinkle of sea salt.
The Secret to Perfectly Soft and Chewy Cookies
Want chewy cookies that stay soft for days?
👉 Use an extra egg yolk and chill the dough before baking!
A Sweet Secret from My Grandma: The Extra Touch That Matters
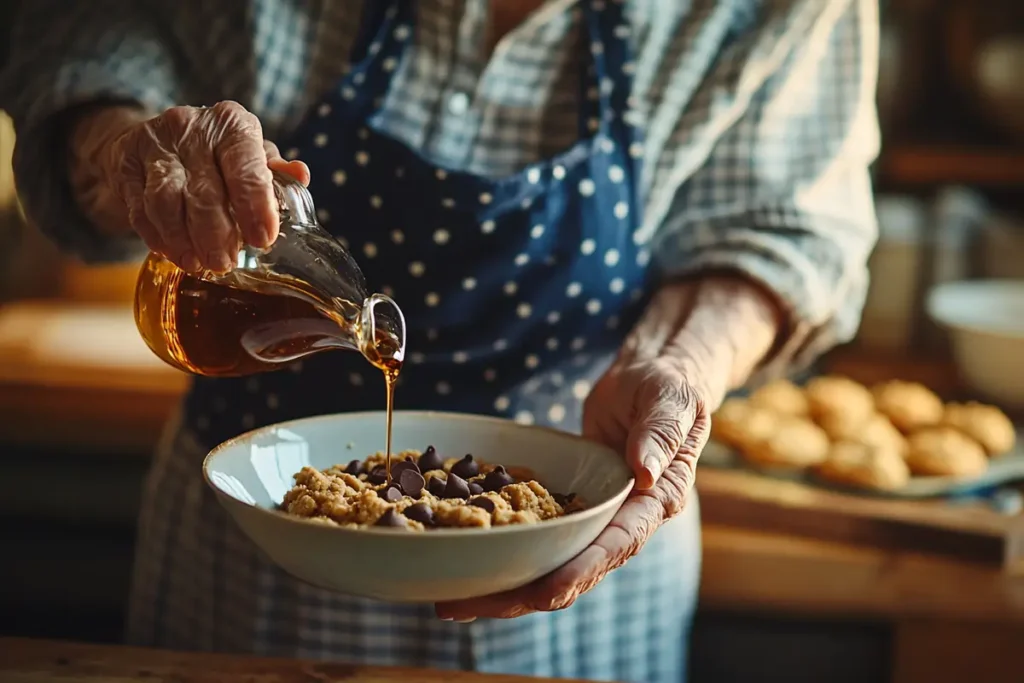
My grandma had a special trick to make her Nestle chocolate chip cookies even more unforgettable:
👉 She added a splash of maple syrup to the dough!
This tiny addition enhances the caramelized sweetness and adds a rich depth of flavor that makes every bite even more special.
The History Behind Nestle Toll House Chocolate Chip Cookies
No cookie recipe is more iconic than the Nestle Toll House Chocolate Chip Cookie. But did you know that its invention was a happy accident?
How Ruth Wakefield Invented the Iconic Recipe
In the 1930s, Ruth Wakefield, owner of the Toll House Inn in Massachusetts, was famous for her homemade desserts. One day, she decided to experiment by adding chunks of a Nestle chocolate bar into her butter cookie dough.
She expected the chocolate to melt, but instead, the pieces held their shape, creating the world’s first chocolate chip cookie.
Her guests loved the new cookies, and word spread fast. Soon, Nestle took notice and struck a deal with Ruth:
✔️ Nestle printed her recipe on their chocolate chip packaging.
✔️ In return, Ruth received a lifetime supply of Nestle chocolate!
And just like that, the most famous cookie recipe in history was born.
How Nestle Popularized Chocolate Chip Cookies
After the Nestle Toll House recipe became a household favorite, Nestle started selling chocolate chips—specially made for baking.
Soon, the chocolate chip cookie craze spread across the U.S., and it became a staple in American baking.
Today, the Nestle Toll House Chocolate Chip Cookie Recipe is still one of the most baked recipes of all time!
Essential Ingredients for Perfect Nestle Chocolate Chip Cookies
To bake the perfect batch, you need the right ingredients. Let’s break them down.
Choosing the Right Type of Chocolate Chips
Not all chocolate chips are the same! Here’s what to consider:
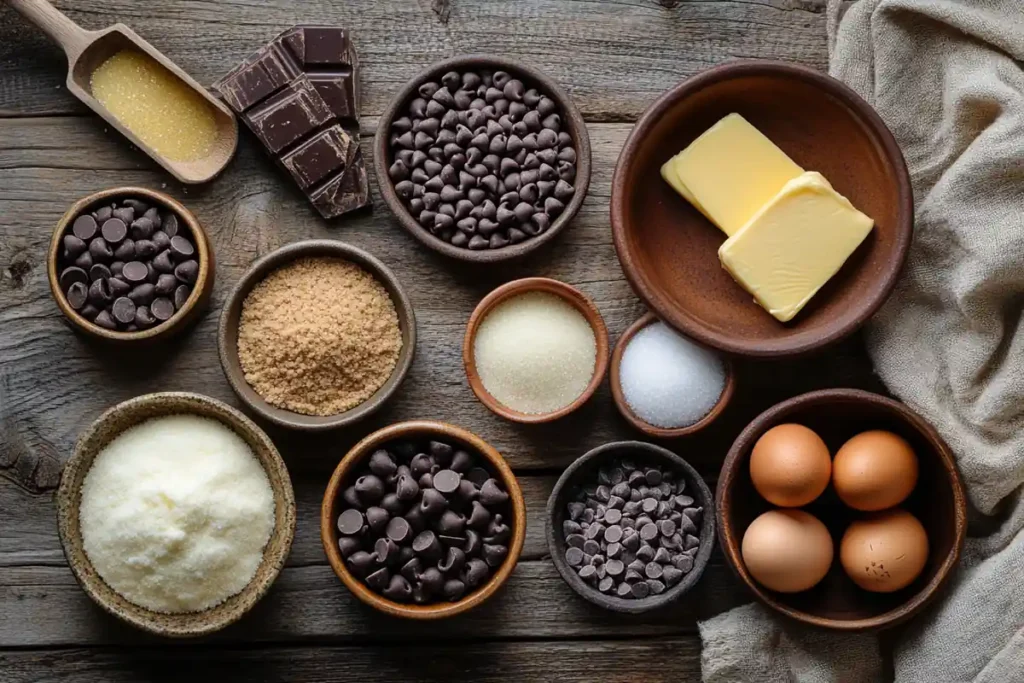
🍫 Semi-Sweet Chocolate Chips – The classic choice, offering a balanced sweet and bitter flavor.
🍫 Dark Chocolate Chips – Great if you prefer a richer, less sweet cookie.
🍫 Milk Chocolate Chips – Best for those who love extra-sweet, creamy cookies.
🍫 Mini Chocolate Chips – Perfect for even chocolate distribution in every bite.
The Role of Butter, Sugar, and Eggs in the Dough
Each ingredient plays a key role in texture and flavor:
- Butter – Creates a rich, creamy texture. Use real butter for best results.
- Sugar – A mix of white and brown sugar gives the perfect balance of crisp and chewiness.
- Eggs – Help bind the dough and add moisture for soft, chewy cookies.
Why Vanilla Extract is a Game-Changer
Vanilla may seem like a small ingredient, but it enhances the entire flavor profile. It adds a warm, aromatic depth that makes the cookies taste homemade and comforting.
Can You Use Margarine Instead of Butter?
Technically, yes—but you won’t get the same rich, buttery flavor. Butter also helps cookies spread evenly, while margarine makes them thinner.
👉 For the BEST Nestle cookies, always use real butter!
How to Mix and Bake the Cookies for the Best Texture
Perfect cookies aren’t just about ingredients—they’re about technique!
The Science Behind Chewy vs. Crispy Cookies
Want chewy cookies? Follow these tricks:
✔️ Use more brown sugar than white sugar for extra moisture.
✔️ Add an extra egg yolk for a richer, chewier texture.
✔️ Chill the dough for at least 30 minutes before baking.
Want crispier cookies? Try this:
✔️ Use more white sugar than brown sugar to reduce moisture.
✔️ Flatten the dough balls slightly before baking.
✔️ Bake a minute longer to get that golden crunch.
Common Mistakes to Avoid
❌ Overmixing the Dough – Makes cookies tough instead of soft.
❌ Skipping the Chilling Step – Warm dough spreads too much, creating flat cookies.
❌ Overbaking – Cookies continue baking after coming out of the oven, so take them out when they look slightly underdone!
Nutritional Insights: What’s Inside Each Bite?
While these cookies are an indulgence, here’s a rough estimate of nutritional values per cookie (based on the original recipe):
| Nutrient | Amount Per Cookie (Approx.) |
|---|---|
| Calories | 160-180 kcal |
| Total Fat | 8g |
| Carbohydrates | 22g |
| Sugar | 14g |
| Protein | 2g |
| Fiber | 1g |
Looking for a healthier twist? Try substituting some flour with almond flour or using dark chocolate instead of semi-sweet.
Creative Twists on the Original Recipe
While the Original Nestle Chocolate Chip Cookie Recipe is perfect as is, sometimes it’s fun to experiment! Here are some delicious twists to try:
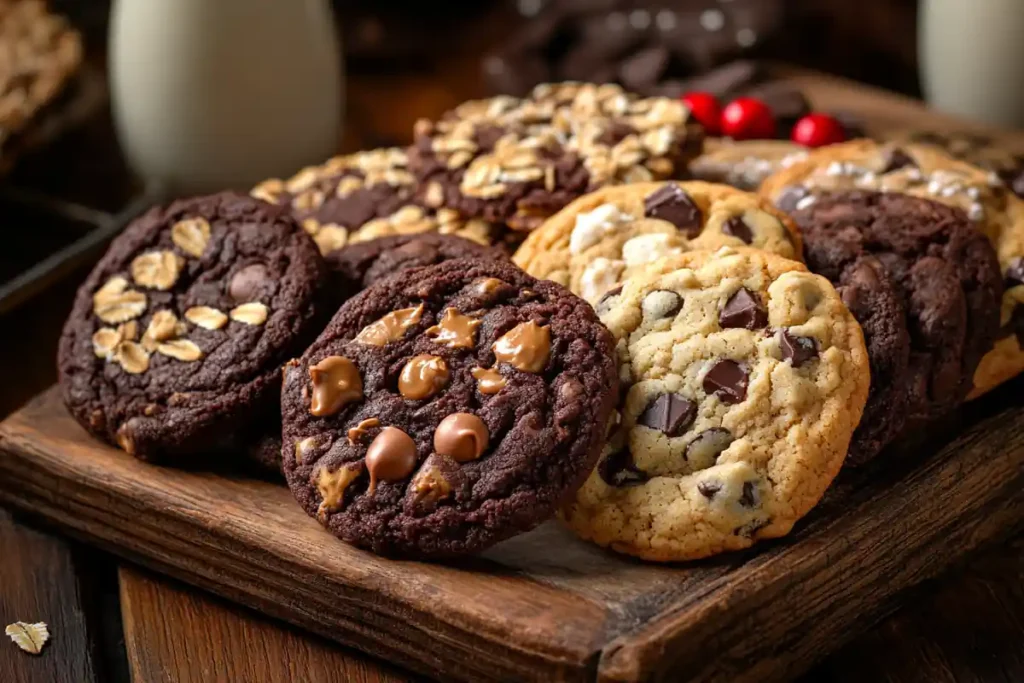
1. Double Chocolate Chip Cookies
🍫 How to Make It: Replace ½ cup of flour with cocoa powder for a rich, chocolatey dough.
2. Peanut Butter Chocolate Chip Cookies
🥜 How to Make It: Swap ¼ cup of butter with creamy peanut butter for a nutty flavor boost.
3. Salted Caramel Chocolate Chip Cookies
🧂 How to Make It: Drizzle melted caramel over the cookies and sprinkle with sea salt before baking.
4. Oatmeal Chocolate Chip Cookies
🌾 How to Make It: Replace ½ cup of flour with rolled oats for a chewy, hearty texture.
5. White Chocolate & Cranberry Cookies
🍒 How to Make It: Swap semi-sweet chocolate chips for white chocolate and add dried cranberries for a festive touch.
👉 Pro Tip: No matter the variation, keep the base dough the same for the best texture!
Storing and Keeping Your Cookies Fresh
Freshly baked cookies are amazing, but what if you want to keep them soft and delicious for days? Here’s how to store them properly.
How Long Do Homemade Cookies Stay Fresh?
- Room Temperature: Up to 5 days in an airtight container.
- Refrigerator: Up to 2 weeks (but they may harden slightly).
- Freezer: Up to 3 months (perfect for long-term storage).
Best Practices for Freezing Cookie Dough
Want fresh cookies on demand? Freeze the dough!
✔️ Scoop dough into balls and place them on a baking sheet.
✔️ Freeze for 1-2 hours, then transfer to a freezer bag.
✔️ Bake straight from frozen—just add 2 extra minutes to the baking time.
How to Reheat Cookies for That Freshly Baked Taste
- Microwave: Heat for 10-15 seconds for a warm, gooey center.
- Oven: Bake at 300°F for 5 minutes to restore crispiness.
- Air Fryer: Heat at 325°F for 3 minutes for a crispy edge and soft center.
👉 Pro Tip: Place a slice of bread in the cookie container to keep them soft longer!
Why This Recipe is a Must-Try for Every Baker
Sharing Sweet Moments with Family
There’s something magical about baking cookies with loved ones—mixing the dough, sneaking chocolate chips, and enjoying warm, freshly baked treats together.
Whether it’s a holiday tradition or a weekend activity, these cookies bring smiles, laughter, and memories to every kitchen.
FAQs About Original Nestle Chocolate Chip Cookie Recipe
Why Do My Nestle Chocolate Chip Cookies Go Flat?
If your cookies are spreading too much, here are some possible reasons:
❌ Butter was too soft or melted – Always use room temperature butter (not melted).
❌ Dough wasn’t chilled – Chilling for 30 minutes to an hour helps cookies hold their shape.
❌ Too little flour – Try adding 1–2 extra tablespoons to prevent excessive spreading.
What Is the History Behind the Nestle Toll House Recipe?
The Nestle Toll House Cookie was invented in the 1930s by Ruth Wakefield, who accidentally discovered that chocolate chunks wouldn’t fully melt when baked into cookies. Nestle later printed her recipe on their chocolate chip packaging, and the rest is history!
What Are the Essential Ingredients for Perfect Cookies?
For classic Nestle Toll House Cookies, you’ll need:
✔️ All-purpose flour – The base for structure.
✔️ Butter – Adds richness and flavor.
✔️ White & brown sugar – A mix creates chewiness and slight crispiness.
✔️ Eggs – Helps bind the dough.
✔️ Vanilla extract – Enhances the overall flavor.
✔️ Baking soda – A leavening agent for soft cookies.
✔️ Nestle chocolate chips – The star ingredient!
FAQ: Can I Make These Cookies Without Eggs?
Yes! Here are some egg substitutes for this recipe:
🥄 1/4 cup unsweetened applesauce – Adds moisture.
🥄 1 mashed banana – Works well but adds a banana flavor.
🥄 1 tbsp ground flaxseed + 3 tbsp water – A great vegan alternative.
What’s the Best Way to Store Baked Cookies?
Store cookies in an airtight container at room temperature for up to 5 days. To keep them extra soft, add a slice of bread inside the container—the cookies absorb moisture from the bread!
