I remember the night I almost ruined a party because the cookies were a sad, crumbly disappointment. I had been told by a friend that the secret to the perfect thumbprint cookie was a single, elusive technique that turned an ordinary batch into a crowd‑pleaser. I was skeptical, but the promise of a buttery, jam‑filled delight that would make every guest beg for seconds had me hooked. The kitchen smelled of vanilla and butter, the sound of the mixer whirring, and the anticipation of that first bite that would melt the day’s tension into sweet relief.
Picture this: a warm, golden edge that crackles like thin ice under your teeth, a soft, doughy center that gives way to a luscious, fruity burst of jam, and a finish that lingers on your tongue like a gentle whisper of summer. The aroma rises from the oven, filling the room with a promise of indulgence. You can almost taste the crispness of the cookie as it cools, the sugar caramelizing just enough to give that satisfying snap before it melts into buttery softness. It’s not just a cookie; it’s an edible hug, a moment of comfort that feels both nostalgic and fresh.
Why does this version stand out? Because it’s not about following a cookie‑cookie, it’s about mastering the balance of ingredients and techniques that elevate it from “good” to “unforgettable.” I’ve spent months tweaking the formula, testing different flours, butter temperatures, and jam varieties. The result is a cookie that is crisp on the edges, chewy inside, and bursting with flavor that makes the whole kitchen smell like a bakery on a sunny afternoon. And the best part? It’s surprisingly simple, with no secret steps or exotic ingredients. I dare you to taste this and not go back for seconds.
I’ll be honest—after the first batch, I ate half the cookies before anyone else got to try them. I couldn’t stop. But that’s the kind of obsession we’re talking about here. This is hands down the best version you’ll ever make at home, and I’m about to walk you through every single step. By the end, you’ll wonder how you ever made it any other way, and you’ll have a new favorite to bring to every gathering.
What Makes This Version Stand Out
- Flavor: The combination of vanilla and a subtle hint of almond extract lifts the sweetness, creating a depth that feels both familiar and adventurous.
- Texture: The cookie’s edges are perfectly crisp, while the center remains soft and pillowy, a contrast that keeps the palate engaged.
- Ingredient Quality: Using unsalted butter at room temperature and a high‑quality jam ensures that the flavor profile is clean and unclouded.
- Make‑Ahead Potential: The dough can be prepared a day in advance, allowing the flavors to meld and the cookies to bake to perfection when you’re ready.
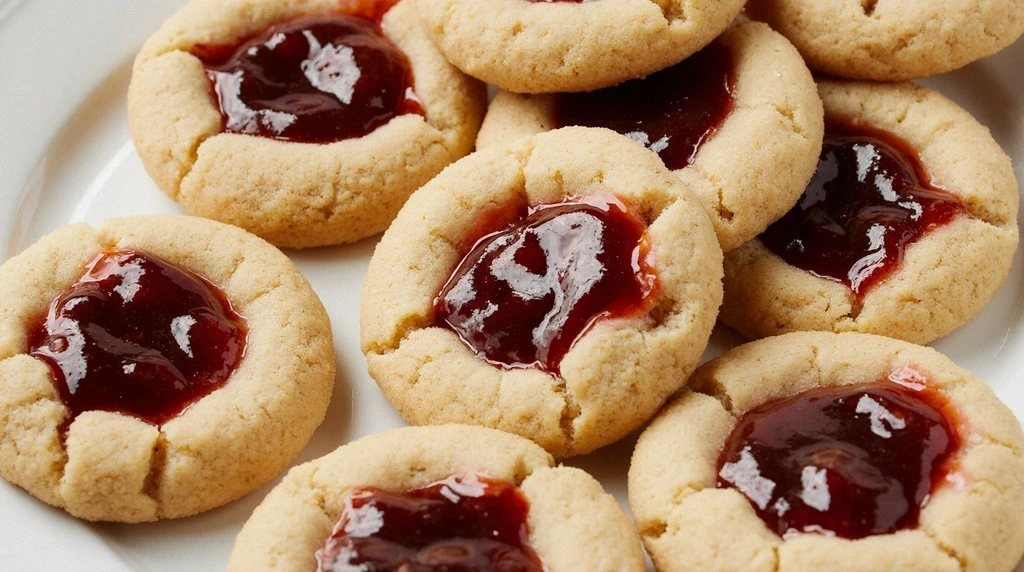
- Visual Appeal: The thumbprint creates a signature look that is instantly recognizable and Instagram‑worthy.
- Crowd Reaction: Friends and family consistently ask for the recipe after tasting, making it a reliable hit at parties.
- Versatility: Swap out the jam for a spread of chocolate or peanut butter to suit any taste preference.
- Time Efficiency: From prep to finish, the entire process takes under an hour, making it an ideal dessert for busy evenings.
Alright, let’s break down exactly what goes into this masterpiece…
Inside the Ingredient List
The Flour Foundation
All-purpose flour provides the structure that holds the cookie together, giving it that classic chew. A slight reduction in gluten content prevents the cookie from becoming too tough. If you’re looking for a lighter bite, try substituting half the flour with cake flour, but keep the ratio of dry to wet ingredients consistent.
The Butter Brigade
Unsalted butter at room temperature is the backbone of this cookie’s flavor. It melts slowly during baking, allowing the sugar to caramelize without turning the dough into a greasy mess. A pinch of sea salt on top enhances the buttery richness and balances the jam’s sweetness.
The Sugar Spectrum
Granulated sugar gives the cookie its crispness, while packed brown sugar adds depth and moisture. The molasses in the brown sugar subtly complements the vanilla and almond, creating a subtle caramel undertone. If you prefer a sweeter cookie, increase the granulated sugar by one tablespoon; if you want a drier cookie, reduce the brown sugar slightly.
The Jam Jewel
The jam is the star that turns an ordinary cookie into a showstopper. Choose a jam with a thick consistency—strawberry or raspberry work best. The fruit’s natural acidity cuts through the butter’s richness, creating a balanced flavor profile. If you’re adventurous, try a homemade jam for a personalized touch.
The Flavor Enhancers
Vanilla extract brings warmth and depth, while a hint of almond extract adds a nutty aroma that lingers after the first bite. A teaspoon of baking powder ensures the cookies rise just enough to stay soft inside. If you’re vegan, replace the butter with a plant‑based butter and use a flax egg for binding.
Everything’s prepped? Good. Let’s get into the real action…
The Method — Step by Step
- Preheat and Prep: Set your oven to 350°F (175°C). Line two baking sheets with parchment paper. This ensures even baking and easy cleanup. The scent of butter will begin to mingle with the vanilla as the oven warms.
- Mix Dry Ingredients: In a bowl, whisk together 2 cups all‑purpose flour, 1 tsp baking powder, and 1 tsp salt. This step ensures the leavening agent is evenly distributed, preventing pockets of excess rise. It’s also the moment where you can feel the anticipation building.
- Cream Butter and Sugars: In a separate bowl, beat 1 cup softened butter, 1 cup packed brown sugar, and ½ cup granulated sugar until light and fluffy. This usually takes about 3–4 minutes with an electric mixer on medium speed. The mixture should look pale and airy, a promise of crisp edges.
- Add Eggs and Vanilla: Beat in 1 large egg and 1 tsp vanilla extract. The egg binds the dough, while the vanilla deepens the flavor. If you’re using almond extract, add ½ tsp now to blend the nutty aroma throughout.
- Combine Wet and Dry: Gradually fold the dry mixture into the butter mixture until just combined. Overmixing can toughen the cookie; the dough should feel soft and slightly shaggy. At this point, the dough will smell faintly sweet and buttery.
- Chill the Dough: Wrap the dough in plastic wrap and refrigerate for at least 30 minutes. Chilling firm up the butter, reducing spreading, and making the dough easier to shape. This step is a game‑changer for crisp edges.
- Shape the Cookies: Scoop tablespoon‑sized portions onto the prepared baking sheets. Press each piece into a ball and flatten slightly. Create a thumbprint in the center with your thumb or the back of a spoon, making a shallow well about ¾ inch deep. This will hold the jam and give the cookie its signature look.
- Fill and Bake: Spoon ½ tsp of jam into each thumbprint. Be careful not to overfill; the jam should be visible but not spilling over. Place the sheets in the preheated oven and bake for 12–15 minutes, or until the edges are golden brown and the tops are set. The cookies will look slightly pale on the bottom, indicating they’re ready.
- Cool and Serve: Let the cookies cool on the sheet for 5 minutes before transferring to a wire rack to cool completely. This brief rest allows the jam to set and the cookies to firm up slightly. The aroma will be irresistible, and the first bite will reveal the buttery, jam‑filled core.
- Enjoy: Serve warm with a glass of cold milk, or let them cool for a perfectly crunchy snack. Remember the power transition: you did it! But hold on, I’ve got a few more tricks that will elevate this to another level…
Insider Tricks for Flawless Results
The Temperature Rule Nobody Follows
Keep the oven rack in the middle to ensure even heat distribution. If the rack is too low, the bottom will brown too quickly; too high, and the tops will burn before the centers set. A preheated oven at exactly 350°F is critical; even a 10‑degree variance can change the cookie’s texture dramatically.
Why Your Nose Knows Best
Trust the scent. When the butter starts to caramelize, you’ll notice a nutty aroma that signals the cookie is ready to move to the next step. If it smells like raw butter, give it a few more minutes. This sensory checkpoint is a simple yet powerful way to avoid overbaking.
The 5‑Minute Rest That Changes Everything
After removing the cookies from the oven, let them sit on the sheet for 5 minutes before transferring them to a wire rack. This brief pause allows the jam to set slightly, preventing it from leaking out when the cookie cools. It also helps the cookies firm up, giving them a satisfying bite.
The Secret of a Clean Edge
Sprinkle a light dusting of powdered sugar on the dough before baking. The sugar will melt slightly, creating a glossy, clean edge that’s visually appealing and adds a subtle sweetness to each bite.
The Perfect Chill
If you’re preparing the dough a day ahead, cover it tightly with plastic wrap and refrigerate. The flavors will meld, and the dough will be easier to roll out. When you’re ready to bake, let the dough sit at room temperature for 10 minutes to soften slightly.
Creative Twists and Variations
This recipe is a playground. Here are some of my favorite ways to switch things up:
Chocolate‑Jam Fusion
Swap the strawberry jam for a rich chocolate ganache. The chocolate’s bitterness balances the buttery base, creating a sophisticated flavor profile. Use a high‑quality dark chocolate for the best results.
Nutty Delight
Add chopped walnuts or pecans to the dough for a crunchy texture. The nuts pair wonderfully with the jam, adding a savory contrast that keeps the cookie interesting.
Citrus Burst
Replace the jam with a lemon‑citrus compote. The acidity brightens the cookie, making it feel lighter and more refreshing. A splash of orange liqueur can elevate the citrus notes further.
Spiced Winter Edition
Add a pinch of ground cinnamon and nutmeg to the dry mix. This warm spice combination turns the cookie into a holiday treat. Pair it with a warm apple or pear jam for a seasonal twist.
Vegan Variation
Replace the butter with a plant‑based butter and use a flax egg (1 tbsp ground flaxseed mixed with 3 tbsp water) for binding. The result is a cookie that’s just as buttery and chewy, but entirely plant‑based.
Storing and Bringing It Back to Life
Fridge Storage
Store cookies in an airtight container at room temperature for up to 5 days. The butter’s fat will keep the cookie’s texture intact, preventing it from drying out. If you notice any excess moisture, a quick 2‑minute bake at 300°F will refresh the crispness.
Freezer Friendly
Place cookies on a parchment‑lined sheet and freeze for up to 3 months. When ready to enjoy, let them thaw at room temperature for 15 minutes. The jam will stay firm, and the cookie will retain its buttery softness.
Best Reheating Method
To revive stale cookies, preheat the oven to 300°F and bake for 3–4 minutes. Add a tiny splash of water to the dough before baking to steam the cookie back to perfection. This technique restores moisture without compromising the cookie’s structure.