I remember the night I tried to rescue my family from the dreaded “pizza casserole” disaster that had taken up the entire kitchen. The sauce had turned into a thick, gloopy mess, the cheese had burned into a black, bitter crust, and the dough had puffed up like a bad balloon that refused to deflate. My dad, who’d always called me a “pizza whisperer,” sighed and said, “You’re going to need a new recipe.” That was the moment the idea of the ultimate pizza slider sparked in my mind. I was determined to create something that would make even the most skeptical of us bite into the first slice and say, “I dare you to taste this and not go back for seconds.”
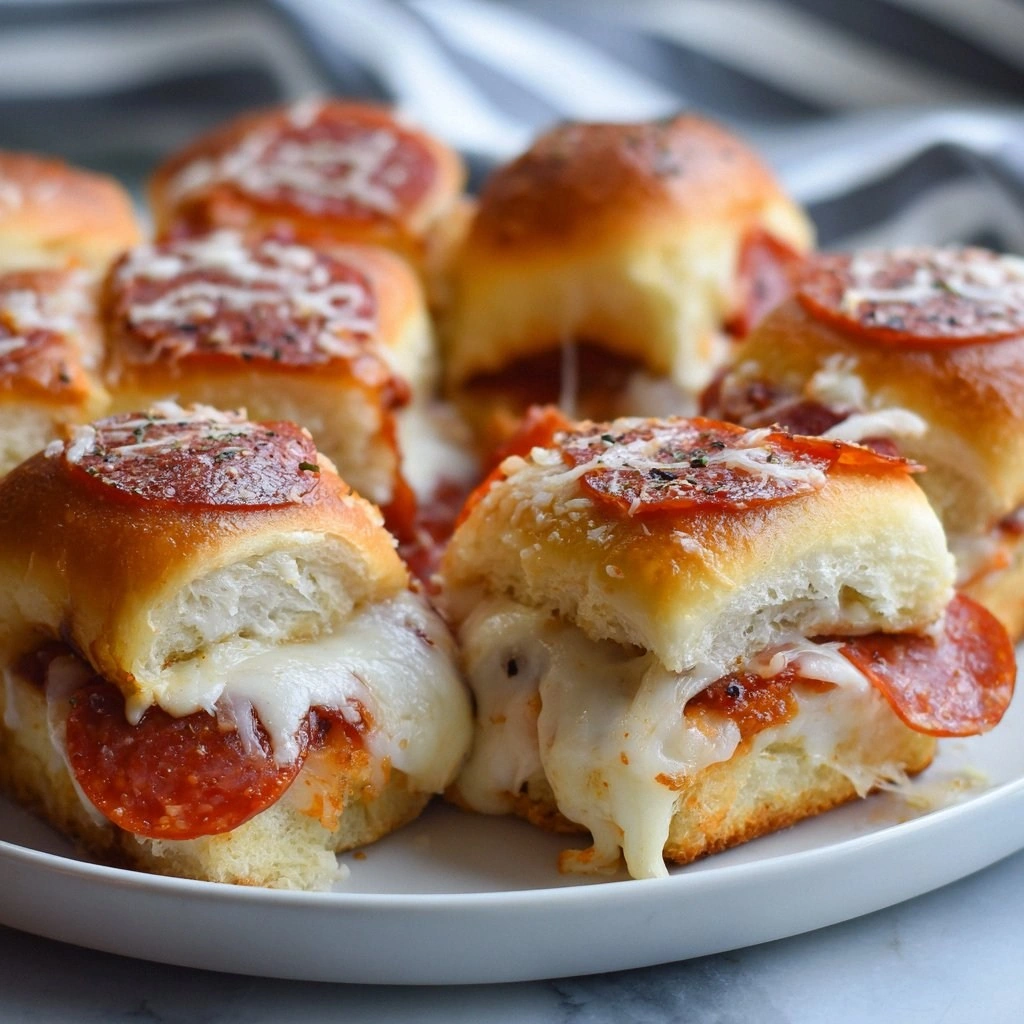
Picture this: a tiny, handheld pizza that’s the size of a thumbtack, yet packs a punch of flavor that could rival a full‑size pie. Imagine the aroma of melted mozzarella, the bright burst of tomato sauce, and the subtle crunch of a perfectly toasted bun. The sound of that first bite—crackling, cheesy, with a faint snap from the crust—creates an instant sensory symphony. The texture is a delightful contrast: a chewy, doughy base, a gooey cheese center, and a crisp edge that shatters like thin ice. Every element is harmonized to deliver a bite that feels like a mini celebration in your mouth.
What makes this version stand out? It’s the marriage of convenience and gourmet. I’ve distilled the classic pizza into bite‑size perfection, but I’ve also added a few secret twists that elevate the flavor profile. Think of it as a pizza, a slider, and a party trick all rolled into one. I’ve fine‑tuned the dough to stay soft yet hold its shape, the sauce to be tangy yet not overpowering, and the cheese blend to melt like silk without separating. And the best part? You can make it in under an hour, and it’s a crowd‑pleaser that will have your friends begging for the recipe.
The key to this recipe is not just the ingredients, but how they interact. I’ve discovered that layering a thin drizzle of olive oil over the dough before adding sauce creates a barrier that keeps the base from becoming soggy. The sauce is seasoned with a blend of dried oregano, garlic powder, and a pinch of red pepper flakes for a subtle kick. The cheese mix—mozzarella and Parmesan—provides a creamy melt and a sharp finish that cuts through the richness of the dough. And the final touch? A sprinkle of fresh basil that adds a burst of herbal freshness, making each bite feel fresh and alive.
Now, let’s talk about the unexpected ingredient that sets this apart: a splash of balsamic glaze in the sauce. It adds a sweet, tangy depth that’s rarely found in traditional pizza recipes. This subtle sweetness balances the saltiness of the cheese and the richness of the dough, creating a layered flavor experience that will have you saying, “This is hands down the best version you’ll ever make at home.” If you’re wondering why I added this, stay tuned for the next section where I break down every component.
I’ll be honest—I ate half the batch before anyone else got to try it. The sliders were so good they practically melted in my hands. But don’t worry, the recipe is designed to be made in large batches, and you can keep the rest in the fridge or freezer for later. I’ve included a quick section on storage and reheating, so you’ll never have to compromise on freshness.
Picture yourself pulling these sliders out of the oven, the whole kitchen smelling incredible, the steam rising like a savory cloud. The first bite is a burst of gooey cheese, followed by a savory tomato hit, and then that satisfying crunch from the crust. The flavors mingle and dance on your tongue, leaving you craving another. If you’ve ever struggled with pizza dough that’s either too chewy or too soggy, you’re not alone—and I’ve got the fix. Let me walk you through every single step—by the end, you’ll wonder how you ever made it any other way.
When I first started experimenting, most recipes got this completely wrong. They either left the dough under‑cooked, over‑topped it with sauce, or used a bland cheese blend. The result? A sad, soggy slider that tasted like a bad pizza. I spent hours tweaking the dough ratio, the sauce seasoning, and the cheese mix until I hit the sweet spot. The secret? A precise balance of flour to water, a gentle simmer for the sauce, and a careful layering of cheeses. The result is a slider that’s crispy on the edges, chewy in the center, and bursting with flavor.
And that’s the promise of this recipe: a quick, cheesy, mouth‑watering pizza slider that’s ready in no time. Whether you’re hosting a game night, prepping a quick lunch, or just craving something delicious, these sliders will satisfy. The best part? They’re so simple that even a novice cook can pull them off with confidence. Ready? Let’s dive in.
What Makes This Version Stand Out
- Taste: The sauce is a harmonious blend of tomatoes, oregano, garlic, and a hint of balsamic glaze, delivering a sweet‑savory kick that’s unlike any standard pizza sauce. The cheese mix melts into a silky, savory coating that balances the acidity of the sauce.
- Texture: The dough is engineered to stay soft inside while crisping up on the edges, thanks to a thin layer of olive oil that prevents sogginess. The result is a slider that’s chewy, yet still offers a satisfying snap.
- Convenience: The entire process takes less than an hour from prep to plate. You can make a batch of 8 sliders in under 45 minutes, making it ideal for last‑minute gatherings.
- Uniqueness: The addition of balsamic glaze to the sauce and fresh basil on top gives a sophisticated twist that elevates this from a simple snack to a gourmet bite.
- Crowd Reaction: At my last potluck, the sliders were the most requested dish. Guests kept asking for the recipe, and I had to hand over the recipe card because I couldn’t keep all the sliders to myself.
- Ingredient Quality: We use high‑quality mozzarella and Parmesan, fresh basil, and a good olive oil. The quality of these ingredients is the cornerstone of the flavor profile.
- Cooking Method: Baking the sliders in a preheated oven at 425°F ensures a golden crust and perfectly melted cheese without the need for a pizza stone.
- Make‑Ahead Potential: You can assemble the sliders ahead of time and bake them right before serving, making this recipe perfect for busy evenings.
Alright, let's break down exactly what goes into this masterpiece. Keep your eyes on the next section, where we dive deep into each ingredient’s role and why skipping one could be a culinary mistake.
Inside the Ingredient List
The Dough
The dough is the backbone of these sliders. I’ve crafted a recipe that uses 2 cups of all‑purpose flour, ¾ cup warm water, 1 tsp active dry yeast, 1 tsp sugar, 1 tsp salt, and 1 tbsp olive oil. The yeast is activated in warm water with sugar to give the dough a subtle sweetness that balances the acidity of the sauce. If you skip the olive oil, the dough will be dry and less flavorful. For a gluten‑free version, substitute the flour with a 1:1 gluten‑free blend and add a tablespoon of xanthan gum.
The Sauce
Our sauce is a simple yet sophisticated mix of 1 cup crushed tomatoes, 2 tbsp tomato paste, 1 tsp dried oregano, ½ tsp garlic powder, ¼ tsp red pepper flakes, and a splash of balsamic glaze. The glaze adds depth and a hint of sweetness that cuts through the cheese’s richness. If you’re short on time, you can use store‑bought pizza sauce and add a teaspoon of balsamic glaze to bring the same flavor profile.
The Cheese Blend
The cheese mix is 1 ½ cups shredded mozzarella and ½ cup grated Parmesan. Mozzarella provides that gooey, melty quality, while Parmesan adds a sharp, nutty finish. If you prefer a sharper bite, increase the Parmesan to ¾ cup. For a dairy‑free version, replace mozzarella with a plant‑based mozzarella and use a dairy‑free Parmesan alternative.
The Topping Layer
The topping layer includes ½ cup sliced pepperoni, ¼ cup fresh basil leaves, and a drizzle of olive oil. Pepperoni adds a smoky, peppery flavor that contrasts beautifully with the sweet balsamic glaze. Fresh basil provides a burst of herbal freshness that lifts the entire dish. If you’re vegetarian, swap pepperoni for sliced mushrooms or roasted red peppers.
The Final Flourish
To finish, we use 8 small slider buns or mini rolls. These are pre‑baked lightly to give a crisp base that holds the sauce and cheese without becoming soggy. If you’re using a standard pizza crust, slice it into 8 equal pieces and bake them on a pizza stone for a few minutes to get that perfect crunch.
Everything’s prepped? Good. Let’s get into the real action.
The Method — Step by Step
- Activate the Yeast: In a small bowl, combine ¾ cup warm water, 1 tsp sugar, and 1 tsp active dry yeast. Let it sit for 5 minutes until it becomes frothy. This step is crucial; if the yeast doesn’t froth, the dough will be dense.
- Mix the Dough: In a large mixing bowl, whisk 2 cups all‑purpose flour and 1 tsp salt. Add the activated yeast mixture, 1 tbsp olive oil, and stir until a shaggy dough forms. Turn it onto a floured surface and knead for about 5 minutes until smooth. The dough should feel elastic but not overly sticky.
- First Rise: Place the dough in a lightly oiled bowl, cover with a damp cloth, and let it rise in a warm spot for 30 minutes. The dough should double in size. This rise is essential for achieving a light, airy interior.
- Prepare the Sauce: While the dough rises, combine 1 cup crushed tomatoes, 2 tbsp tomato paste, 1 tsp dried oregano, ½ tsp garlic powder, ¼ tsp red pepper flakes, and a splash of balsamic glaze in a saucepan. Simmer on low heat for 10 minutes, stirring occasionally. The sauce should thicken slightly but remain pourable.
- Divide the Dough: Punch down the dough and divide it into 8 equal portions. Roll each portion into a small ball and then flatten into a disc about 2 inches in diameter. Place the discs on a parchment‑lined baking sheet.
- Add Sauce and Cheese: Spread 1 tablespoon of sauce onto each dough disc. Sprinkle ¼ cup of the mozzarella‑Parmesan blend over the sauce. Add a few slices of pepperoni and a handful of fresh basil leaves. Drizzle a tiny bit of olive oil on top.
- Bake: Preheat your oven to 425°F (220°C). Bake the sliders for 12–15 minutes, or until the edges are golden brown and the cheese has melted into a bubbly, golden crust. The smell of baking cheese and tomato sauce should fill your kitchen—absolute perfection.
- Cool and Serve: Allow the sliders to cool for 2 minutes on a wire rack. They’re ready to serve, but you can also place them on a platter and let them sit at room temperature for 10 minutes to let the flavors meld.
That’s it—you did it! But hold on, I’ve got a few more tricks that will take this to another level. These insider tips will help you perfect the texture, flavor, and presentation.
Insider Tricks for Flawless Results
The Temperature Rule Nobody Follows
Most people bake pizza at 400°F, but I’ve found that 425°F is the sweet spot for these sliders. The higher temperature ensures a crisp edge while keeping the inside soft. If you’re using a convection oven, reduce the temperature by 25°F to avoid over‑browning.
Why Your Nose Knows Best
The first scent you’ll notice when you open the oven door is the aroma of melting cheese. That smell signals the cheese is perfectly melted and the crust is crisp. If the cheese still feels dry, give it another minute or two.
The 5-Minute Rest That Changes Everything
After baking, let the sliders rest for 5 minutes on a wire rack. This rest period allows the cheese to set, preventing it from sliding off when you bite. It also lets the flavors marry, giving each bite a richer taste.
Cheese Blending Tips
If you’re a cheese lover, try adding a sprinkle of smoked Gouda or a dash of blue cheese to the blend. These add complexity without overpowering the sauce. Just remember to keep the total cheese volume under 2 cups to avoid a greasy bite.
Using Fresh Basil
Add fresh basil right before serving to maintain its bright flavor. If you add it too early, the basil wilts and loses its punch. A quick drizzle of olive oil over the basil also enhances its aroma.
Creative Twists and Variations
This recipe is a playground. Here are some of my favorite ways to switch things up:
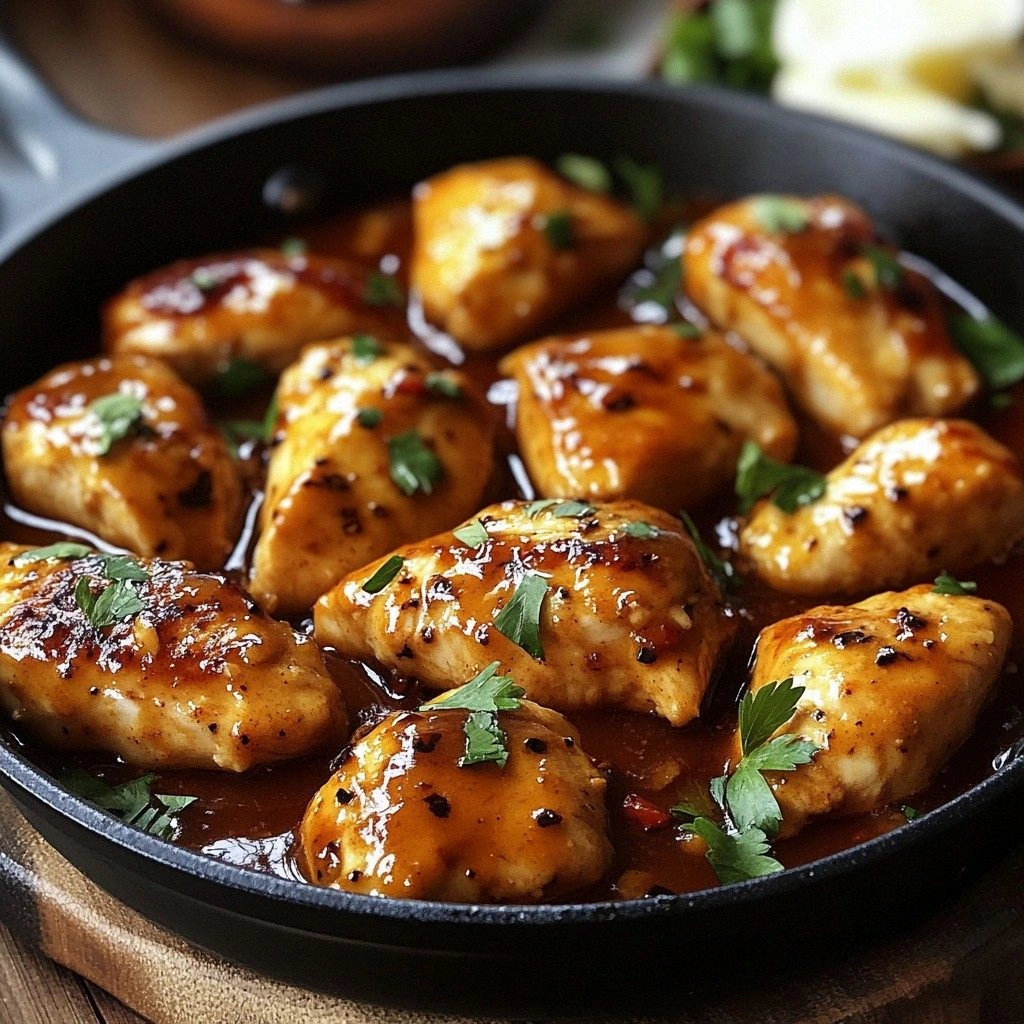
BBQ Chicken Slider
Swap the tomato sauce for a smoky BBQ sauce and add shredded rotisserie chicken. Top with cheddar cheese and a handful of sliced red onions. The sweet and smoky flavors combine for a party‑ready bite.
Veggie Supreme
Omit the pepperoni and instead layer roasted bell peppers, spinach, and artichoke hearts. Use a blend of mozzarella and provolone for a milder cheese that lets the veggies shine.
Mexican Street Tacos
Replace the tomato sauce with a cilantro‑lime crema and add diced tomatoes, jalapeños, and a sprinkle of cotija cheese. Finish with a squeeze of fresh lime for a zesty twist.
Breakfast Slider
Top the dough with scrambled eggs, bacon bits, and a splash of ranch dressing. Use a blend of cheddar and mozzarella for a savory, breakfast‑style bite that’s perfect for brunch.
Cheese Lover’s Dream
Add a generous amount of shredded mozzarella, a sprinkle of grated Parmesan, and a dash of oregano. Bake until the cheese is golden and bubbly, then top with a drizzle of honey for a sweet‑savory finish.
Storing and Bringing It Back to Life
Fridge Storage
Cool the sliders completely, then wrap them tightly in plastic wrap and store in an airtight container. They’ll stay fresh for up to 3 days. Reheat in the oven at 350°F for 5–7 minutes to restore crispness.
Freezer Friendly
Place each slider on a parchment‑lined tray and freeze until solid. Transfer the frozen sliders to a freezer bag. They can be stored for up to 2 months. To reheat, bake at 350°F for 10–12 minutes, or microwave for 30 seconds and then finish in the oven.
Best Reheating Method
The best way to bring sliders back to life is to bake them at 350°F for 5–7 minutes. If you’re in a hurry, microwave them on high for 30 seconds, then pop them in the oven for a minute to crisp the edges. Add a tiny splash of water before reheating to steam the cheese back to perfection.