Bake a crunchy and aromatic breakfast favorite using real vanilla and toasted nuts.
(Introductory description: Discover how to create a flavorful vanilla nut granola recipe with wholesome oats, nuts, and sweet vanilla.)
Making homemade granola has gained huge popularity in the U.S. It’s tasty, flexible, and easy to customize. Store-bought granola can contain excessive sugar and artificial flavors. Consequently, many people prefer a homemade vanilla nut granola recipe to control ingredients and ensure top quality.
Harvard T.H. Chan School of Public Health highlights the importance of whole grains for heart health. Albeit many cereals claim to be whole grain, granola often surpasses them in nutritional density. Vanilla nut granola recipe lets you enjoy fiber and protein from oats and nuts. Also, you can keep the sweetness balanced with natural sugars, like honey or maple syrup. Meanwhile, Medical News Today underscores the significance of moderate sweeteners. When you make granola at home, you can manage how much sweetness goes in. This helps you maintain a healthier lifestyle without giving up on flavor.
Another popular resource, EatingWell, suggests that nuts and seeds also boost essential vitamins and minerals. Indeed, combining them with fragrant vanilla can yield a delightful aroma during baking. The scent alone can transform your kitchen into a cozy haven. Many people love the crunchy clusters formed by gently pressing the mixture together. In the upcoming section, let’s examine what elements define a truly outstanding vanilla nut granola recipe.
What Makes a Great Vanilla Nut Granola Recipe?
An excellent granola revolves around balance. It should be sweet yet not cloying, crispy but not burnt, and rich in nutrients without tasting bland. Vanilla nut granola recipe focuses on vanilla’s natural warmth, allowing nuts to shine. Also, the best recipes maintain a satisfying crunch without overwhelming sweetness.
Role of Vanilla Extract
Vanilla can be subtle or bold, depending on your choice of vanilla extract or paste. This ingredient adds gentle sweetness without requiring extra sugar. Also, vanilla complements the earthiness of oats and nuts. Consequently, it ties flavors together in a harmonious blend.
Significance of Nuts and Seeds
Nuts deliver protein, healthy fats, and texture. Almonds and walnuts work great. However, you can try pecans, hazelnuts, or macadamias. Seeds, like pumpkin or sunflower, supply additional minerals. Combined, they boost your granola’s crunch and nutritional benefits.
In the subsequent chapter, we will explore why homemade granola can be a healthier choice. We’ll also discover how certain ingredients provide vital nutrients that typical breakfast cereals often lack.
Health Benefits of Homemade Granola
Crafting granola at home allows you to pick high-quality ingredients. Moreover, you decide how much oil, sugar, or salt goes into the final product. This control leads to an overall healthier breakfast or snack.
Oats for Fiber and Energy
Oats are packed with soluble fiber, which helps regulate cholesterol. They also slowly release energy, keeping you full longer. This can help avoid midday sugar crashes. Because of oats’ versatility, they form the perfect base for a vanilla nut granola recipe.
Nuts for Protein and Healthy Fats
Nuts supply valuable unsaturated fats that can support heart health. Almonds, walnuts, and pecans, for instance, contain vitamin E and various minerals. Furthermore, nuts are a good source of protein. Protein helps stabilize blood sugar and offers a feeling of satiety. Consequently, a homemade granola can turn an ordinary breakfast into a protein-rich start to the day.
Control Over Sugar and Preservatives
Many commercial granolas rely on high fructose corn syrup or refined sugar. They might also contain preservatives and artificial flavors. When you make your own vanilla nut granola recipe, you can opt for honey, maple syrup, or a reduced amount of brown sugar. Additionally, you can omit unnecessary additives, ensuring each spoonful remains as natural as possible.
Moving to the next part, let’s dig into the key ingredients that elevate granola from decent to downright amazing. We’ll explore the roles of rolled oats, vanilla, nuts, and sweeteners in more detail.
Key Ingredients

1. Rolled Oats
Rolled oats, also known as old-fashioned oats, form the cornerstone of any good granola. They toast beautifully and absorb flavors well. Instant oats, contrarily, can lead to a mushy texture. Steel-cut oats are too dense and take much longer to cook. Consequently, use rolled oats for a classic crunch.
2. Selection of Nuts
Choose almonds, walnuts, or pecans if you enjoy robust flavors. Alternatively, you can blend different nuts to experience varied textures. For example, mix sliced almonds with chopped pecans. This synergy ensures every bite brings a new dimension of crunch.
3. Vanilla Extract or Paste
Vanilla extract contributes a subtle fragrance that ties the whole recipe together. However, you can experiment with vanilla bean paste for a stronger flavor. Some people even add a scraped vanilla bean to intensify the aroma. Albeit costlier, fresh vanilla beans can create an extra-special twist.
4. Sweeteners
Honey, maple syrup, or a blend of both are common choices. Each sweetener caramelizes slightly differently under heat. Maple syrup lends a smoky sweetness. Honey, on the other hand, fosters a stickier texture. If you’re avoiding refined sugar, stick to these natural sweeteners in moderation.
5. Oil or Fat Options
Neutral oils like canola or avocado oil help crisp up the oats. Coconut oil can add a subtle coconut flavor, which pairs well with vanilla. Regardless of the choice, fat helps the granola develop those coveted golden clusters.
In the next installment, we’ll detail how to combine these essential ingredients. You’ll learn the exact method for achieving perfectly toasted granola every time.
Step-by-Step Instructions
1. Preheat the Oven
Set your oven to 325°F (about 160°C). This moderate temperature allows the oats and nuts to toast evenly. Too high a heat may burn the edges while leaving the center underdone.
2. Prep the Baking Sheet
Line a large baking sheet with parchment paper or a silicone mat. This prevents sticking and makes cleanup easier. Ensure the sheet has enough surface area to spread out your granola.
3. Mix Dry Ingredients
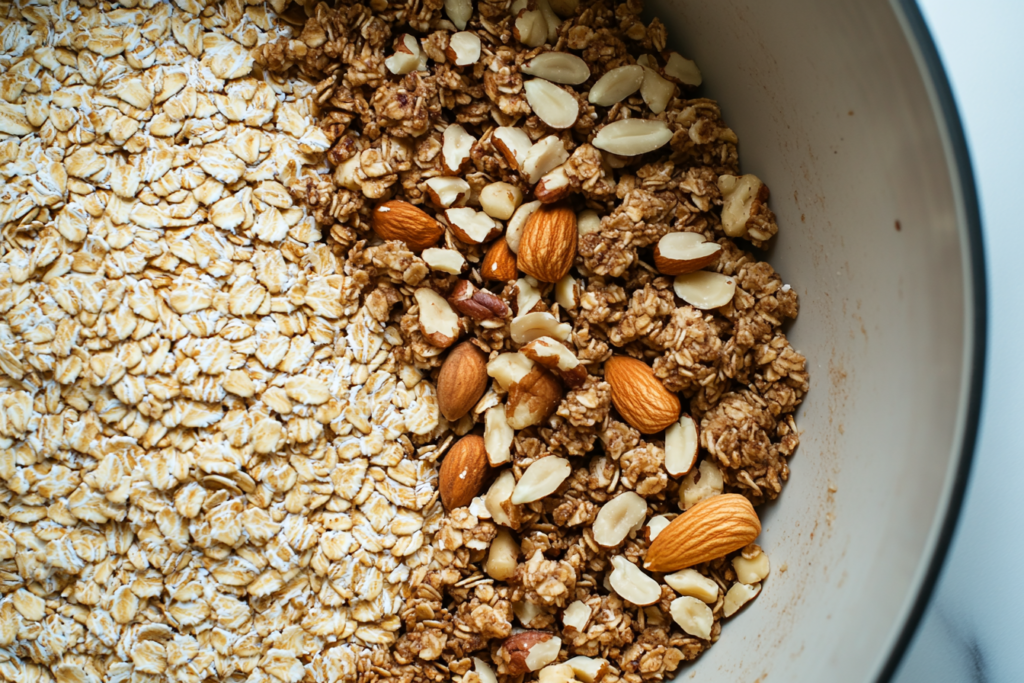
In a large bowl, combine:
- 3 cups of rolled oats
- 1 cup of chopped nuts (e.g., almonds, walnuts, or a blend)
- Any optional extras like seeds (sunflower, pumpkin, etc.)
Stir everything to distribute the nuts evenly among the oats.
4. Combine Wet Ingredients

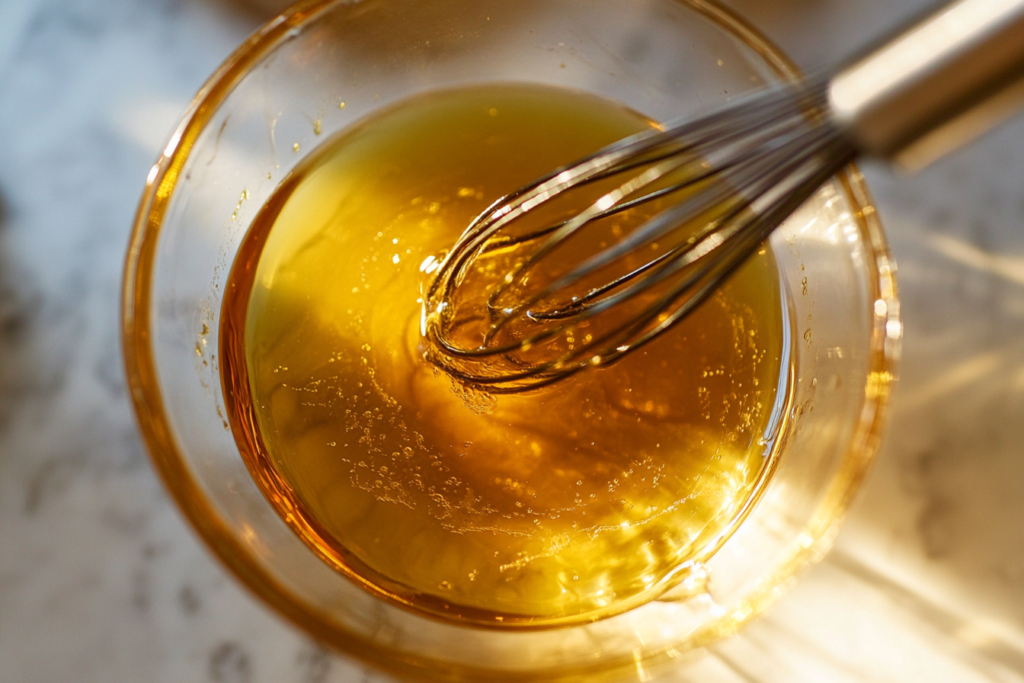
In a separate bowl, whisk together:
- ¼ cup honey or pure maple syrup
- 2 tablespoons coconut oil (melted) or another neutral oil
- 1 teaspoon pure vanilla extract
- A pinch of salt if desired
Ensure the mixture is well blended. Emphatically, the vanilla should disperse throughout.
5. Merge Wet and Dry
Pour your wet mixture over the oats and nuts. Then stir gently but thoroughly. Each oat cluster should receive a light coating. The mixture might clump somewhat, which is good for forming crunchy clusters.
6. Spread and Bake
Spread the mixture evenly on your lined baking sheet. Bake for about 15 minutes. Afterwards, remove the sheet and stir to prevent uneven browning. Return to the oven for an additional 10–15 minutes. Look for a golden brown hue, because that indicates the granola is toasting nicely.
7. Cool and Store
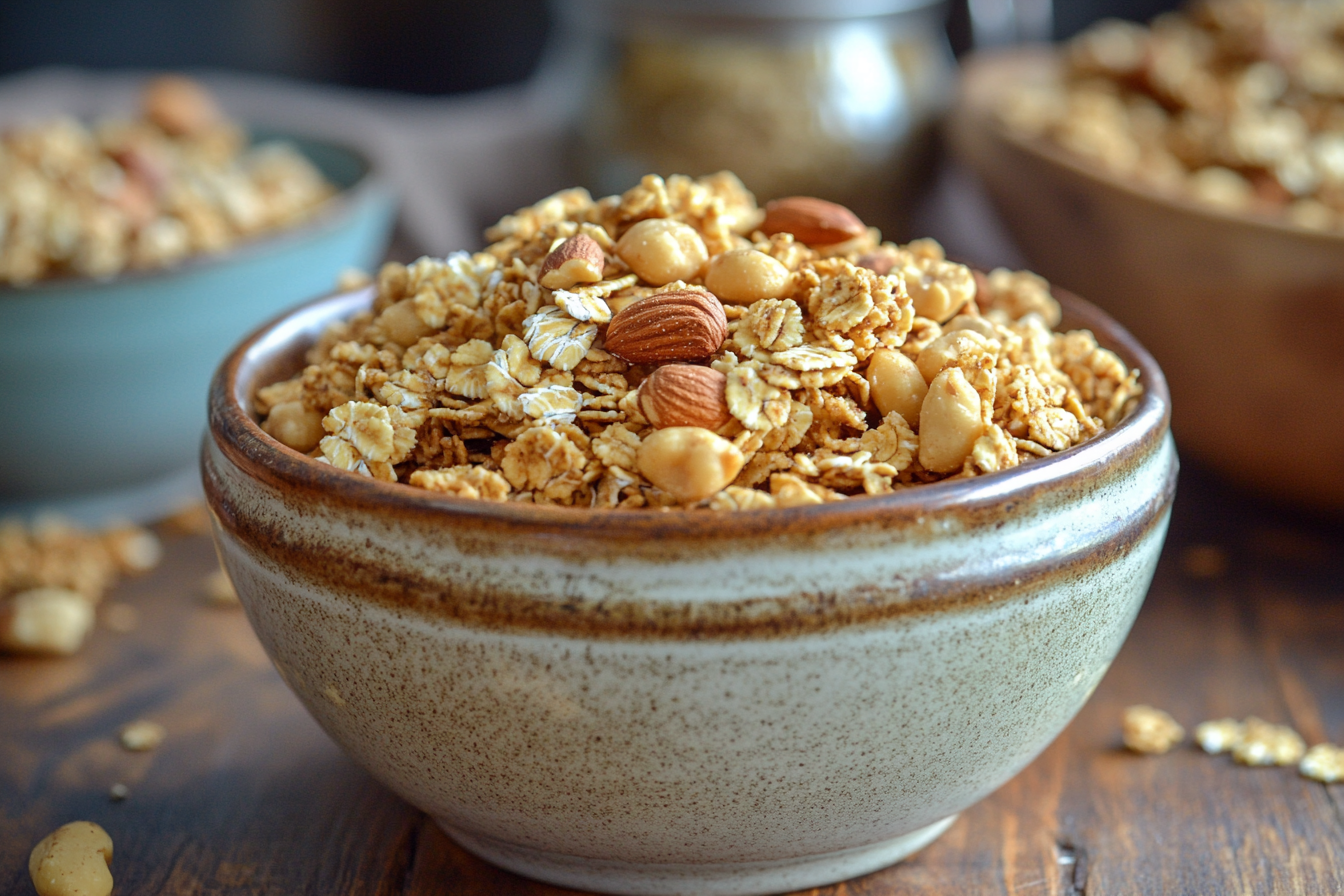
Remove the baking sheet from the oven and allow the granola to cool. It will become crispier as it sits. Break the cooled granola into clusters before storing in an airtight container. Properly sealed, it should remain fresh for up to two weeks.
Advancing to the following area, we’ll cover the tools and equipment that make your baking experience smoother. Having the right items on hand can help you achieve a perfect outcome.
Tools and Equipment
Baking Sheets and Liners
Use a sturdy baking sheet that can withstand repeated stirring. Rimmed edges are helpful to keep nuts and oats contained. Line with parchment paper or a silicone mat for easy release.
Mixing Bowls and Measuring Tools
Keep at least two mixing bowls. One for dry ingredients, another for the wet mixture. Measuring cups and spoons provide accuracy. Some bakers prefer weighing their ingredients. If so, a kitchen scale can deliver consistent results.
Oven Thermometer
Oven dials sometimes don’t match actual internal temperatures. Placing an oven thermometer inside helps confirm accuracy. If your oven runs hot, reduce the temperature slightly. You want your granola to toast, not scorch.
Cooling Rack
Using a cooling rack under the baking sheet can help the granola cool faster. Indeed, the airflow prevents any residual heat buildup, which might continue cooking your granola more than desired.
In the next division, let’s explore how you can tweak this vanilla nut granola recipe to suit different diets or flavor preferences.
Flavor Variations and Dietary Modifications
Swapping Nuts and Seeds
Experiment with cashews or hazelnuts for new flavor profiles. Also, try seeds such as chia or flax. A handful of sesame seeds can add extra crunch, albeit in a subtler way than big nuts.
Adjusting Sweeteners
- Maple Syrup: Provides a deeper, caramel-like sweetness.
- Honey: Offers a floral note with a stickier texture.
- Brown Sugar: Adds a hint of molasses flavor, but watch for higher sugar content.
If you desire minimal sweetness, reduce the amount. Then add a bit more oil to keep the oats moist during baking.
Gluten-Free Considerations
Oats are naturally gluten-free, but cross-contamination often occurs in processing. Use certified gluten-free rolled oats if you or someone you cook for must avoid gluten. This ensures the final product remains safe for people with celiac disease or gluten intolerance.
Vegan Options
Stick to maple syrup or agave nectar in place of honey. Also ensure the oil you choose is plant-based, like coconut oil or avocado oil. Vanilla extract typically remains vegan, but double-check for any hidden animal-based additives.
Shifting to the next part, we’ll look at common mistakes that can undermine a vanilla nut granola recipe. We’ll also provide tips to help you avoid typical pitfalls.
Common Mistakes and Helpful Tips
Mistake 1: Baking at Too High a Temperature
Granola bakes best at low-to-moderate heat. High heat can cause burned edges and raw centers. Keep an eye on the color rather than solely relying on the timer.
Mistake 2: Neglecting to Stir
If you don’t stir at least once, you risk uneven cooking. Some pieces might char, while others remain pale. Brief stirring helps achieve consistent browning.
Mistake 3: Adding Fruit Too Soon
Dried fruits can become rock-hard or burn if baked for the entire duration. Add them in the last five minutes or after the granola has cooled. You maintain the fruit’s natural moisture and flavor.
Mistake 4: Storing Before It Cools
Warm granola in a sealed container can trap steam. This leads to soggy clusters. Let the granola reach room temperature, then seal it. This step preserves crispness.
Mistake 5: Overloading with Sweetener
Excess sweetener can make the granola more prone to burning. It also might create overly sticky clusters that never fully crisp. If you love sweetness, drizzle more on top post-baking instead.
Moving forward to the next topic, let’s discuss serving ideas. You’ll see how this vanilla nut granola recipe fits seamlessly into breakfasts, snacks, and even desserts.
Serving Ideas
Breakfast Bowls
Spoon your granola over Greek yogurt, then add fresh berries. This combination offers a protein boost from yogurt and antioxidants from berries. Another option is to pour cold milk or a dairy-free alternative over a bowl of crunchy granola.
Parfaits and Layered Treats
Layer granola, yogurt, and fruit in a tall glass for a visually appealing parfait. This approach also adds textural contrast. The layers of crunchy granola, creamy yogurt, and juicy fruit create a satisfying mouthfeel.
Dessert Toppings
Sprinkle vanilla nut granola recipe on top of ice cream or pudding for added texture. The toasty flavor pairs well with sweet desserts. Alternatively, incorporate granola into pies or crisps for a nutty crumble topping.
On-the-Go Snacks
Portion granola into small containers or snack bags for a quick boost of energy. Pair with a piece of fruit for a balanced snack. Or mix granola with chocolate chips or dried fruit for a homemade trail mix.
On to the following discussion, let’s address a few frequently asked questions. These are common inquiries that people have when perfecting their homemade granola game.
Frequently Asked Questions (FAQs)
1. What ingredient makes granola stick together?
Liquid sweeteners such as honey, maple syrup, or even brown sugar syrup. Also, the oil helps bind the oats and nuts. When baked, these ingredients caramelize, forming those tasty clusters.
2. Why is my homemade granola not crunchy?
You may have baked it at too low a temperature or removed it too soon. Also, failing to let it cool can keep it from crisping. Spread it thinly, bake fully, and let it rest before storing.
3. Do you add dried fruit to granola before or after baking?
Most people add it after baking. Otherwise, dried fruit can harden or burn in the oven. If you do want it baked in, reduce the overall baking time. Check often to ensure it doesn’t scorch.
4. What are the macros for vanilla granola?
Exact macros vary based on ingredients. Generally, a ½ cup serving might contain 200–250 calories. It could provide around 5–7 grams of protein, 10–12 grams of fat, and 30–35 grams of carbs. Reducing sweeteners or using more nuts can shift these values.
Heading into the subsequent area, we’ll wrap up the discussion with final remarks. We hope these insights inspire you to try this vanilla nut granola recipe in your own kitchen.
Conclusion
Making a vanilla nut granola recipe can transform your mornings. This homemade approach provides a balance of complex carbs, healthy fats, and moderate sweetness. It ensures you start the day with a wholesome meal rather than an overly processed product. Moreover, controlling the ingredients allows you to experiment with flavors and meet your dietary needs.
You can customize your granola by swapping sweeteners or varying nut blends. The flexibility means no single batch ever needs to be exactly the same as the last. Also, the delightful smell of toasted oats and warm vanilla can turn baking day into a special occasion. With minimal effort, you create a jar of crunchy goodness that lasts for days.
Undoubtedly, preparing granola at home is simpler than it seems. Just remember to bake at a stable temperature, stir occasionally, and let it cool for maximum crunch. Once you master these steps, you can enjoy a satisfying treat whenever you crave something sweet and crunchy. Whether spooned over yogurt, layered in a parfait, or eaten straight from the container, this vanilla nut granola recipe proves that nutritious and delicious can absolutely go hand in hand.
In the next subsection, you’ll find tips for optimizing any images you might add to your blog post. A good image can showcase the beauty of freshly baked granola while providing context on texture and color.

