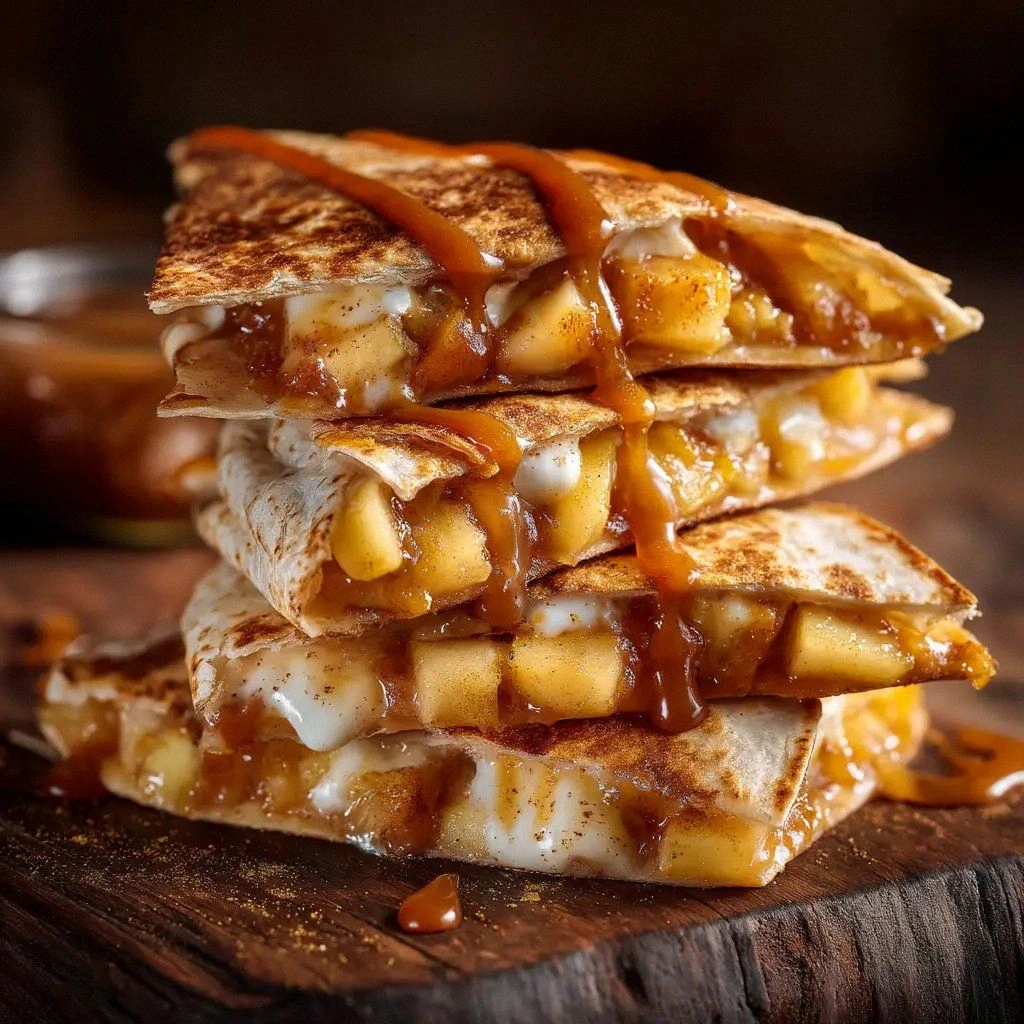
When I first tried to salvage a burnt batch of pancakes, I was already halfway to a kitchen catastrophe. I grabbed a flour tortilla, a sliced apple, and a handful of spices, and decided to experiment on the fly. The result? A crispy, caramelized breakfast quesadilla that smelled like a cinnamon roll and tasted like a hug from a grandma who never stopped cooking. I swear, the first bite was so satisfying that I immediately shouted, “I dare you to taste this and not go back for seconds.”
I was standing there, apron stained, hearing the sizzle of butter as it hit the pan, feeling the heat of the skillet on my fingertips, and smelling the sweet aroma of apples and cinnamon. My taste buds tingled with a sweet‑spicy blend that made the entire kitchen feel like a cozy cabin. That moment was the spark that turned a simple breakfast into a culinary revelation. I knew I had stumbled upon something that needed to be shared.
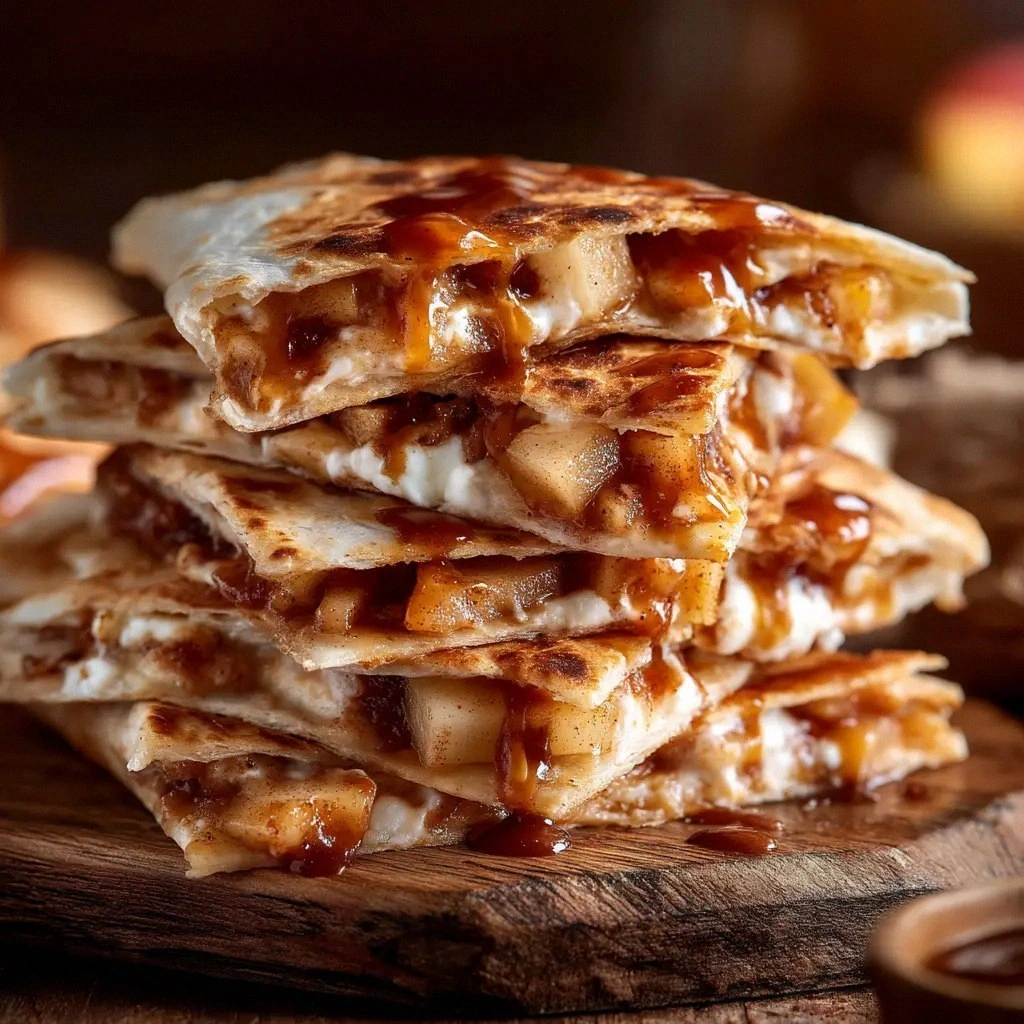
Fast forward to now, and this Apple Cinnamon Breakfast Quesa has become the go-to morning ritual for my friends and family. It’s a game‑changer because it delivers a comforting sweetness, a satisfying crunch, and a creamy center, all in one bite. I’ve perfected the technique so that the tortilla stays golden and the apple remains juicy. And the best part? It takes less than 15 minutes from start to finish.
Let me walk you through every single step — by the end, you'll wonder how you ever made it any other way.
What Makes This Version Stand Out
- Flavor: The caramelized apple and cinnamon pair create a sweet‑spice symphony that feels both comforting and adventurous.
- Texture: The buttery tortilla becomes a golden, crispy shell that holds the creamy filling without becoming soggy.
- Simplicity: With only seven ingredients, you can whip up a gourmet breakfast in minutes.
- Uniqueness: The combination of apple, cream cheese, and nutmeg gives it a twist that most breakfast quesadillas lack.
- Crowd Reaction: At family gatherings, this dish consistently becomes the highlight, with kids begging for seconds.
- Ingredient Quality: Using fresh, organic apples and real butter elevates the flavor profile beyond the ordinary.
Alright, let's break down exactly what goes into this masterpiece...
Inside the Ingredient List
The Flavor Base
The unsalted butter is the cornerstone of the caramelization process. It creates a golden, buttery coating around the apple slices, preventing them from drying out. If you skip butter, the apples will steam instead of caramelize, losing that signature depth. For a richer flavor, try using clarified butter, which has a higher smoke point and a cleaner taste.
The Texture Crew
The flour tortillas provide the structural base. Their pliability allows for even heat distribution, ensuring a crisp exterior while keeping the interior warm. A thicker tortilla will hold more filling, but a thinner one offers a lighter bite. If you’re looking for a gluten-free version, swap in corn tortillas, but keep an eye on the cooking time to avoid over‑drying.
The Unexpected Star
The cream cheese is the creamy heart of this dish. It melts into a silky sauce that clings to every corner of the tortilla. Adding a dash of vanilla extract to the cream cheese can elevate the flavor profile, adding a subtle warmth that complements the apple. If you prefer a tangier twist, use Greek yogurt instead of cream cheese for a healthier alternative.
The Final Flourish
The brown sugar, cinnamon, and nutmeg bring the dish together with a fragrant, spicy sweetness. The sugar caramelizes slightly, creating a glossy finish on the apples, while the spices infuse the entire quesadilla with warmth. If you’re short on nutmeg, a pinch of allspice can substitute without compromising the flavor. Remember, the key is to toast the spices just until fragrant to avoid bitterness.
Everything's prepped? Good. Let's get into the real action...
The Method — Step by Step
- Heat a large skillet over medium heat and add the tablespoon of unsalted butter. Watch the butter melt into a silky sheen, then let it foam for a few seconds before adding the apple slices. The butter should coat each slice evenly, preventing sticking and ensuring even caramelization.
- Add the sliced apple to the pan, sprinkling the brown sugar, ground cinnamon, and a pinch of nutmeg over the top. Stir gently, allowing the spices to coat the fruit. The aroma will rise, signaling that the apples are starting to soften.
- Let the apples cook for about 4–5 minutes, stirring occasionally, until they begin to brown and release a sweet fragrance. This step is critical; too little time and the apples remain raw, too long and they become mushy. Keep the heat steady to avoid burning.
- While the apples finish cooking, spread a generous layer of cream cheese over one side of each tortilla. The cream cheese will melt into the apple filling, creating a luscious, silky texture. Be careful not to over‑apply; a thin layer ensures even melting.
- Place the filled tortilla, cream‑cheese side down, onto the skillet. Cook for 2–3 minutes, pressing gently with a spatula to encourage even browning. The edges should start pulling away, signaling that the tortilla is crisping nicely.
- Flip the quesadilla carefully, cooking the other side for another 2–3 minutes until golden brown. The cream cheese should be molten, and the apple filling should be bubbling slightly. Slice the quesadilla into wedges with a sharp knife, letting the steam release as you cut.
- Serve immediately, optionally drizzling a little honey or maple syrup over the top. The warm, buttery crust will contrast beautifully with the sweet glaze, creating a harmonious flavor profile that feels like a morning hug.
That's it — you did it. But hold on, I've got a few more tricks that'll take this to another level...
Insider Tricks for Flawless Results
The Temperature Rule Nobody Follows
Many cooks jump straight to high heat, but the secret is to start medium and let the butter gently melt before adding the apples. This gradual heat build ensures even caramelization and prevents the spices from burning. I once burned a batch by turning the stove to high, and the result was bitter and uneven. Stick to medium and trust the aroma as your cue.
Why Your Nose Knows Best
The first scent that fills your kitchen is a reliable indicator of progress. When the apples begin to brown, the smell of caramelized sugar will rise. This subtle cue tells you that the texture is right—juicy on the inside, crisp on the outside. Trust that aroma; it’s your best friend.
The 5-Minute Rest That Changes Everything
After cooking, let the quesadilla rest on a plate for 2 minutes before cutting. This brief pause allows the cream cheese to set slightly, preventing a runny mess when you slice. I’ve seen folks slice right away and end up with a gooey disaster. A quick rest keeps the wedges intact.
The Quick Flip Technique
When flipping, use a wide, flat spatula to support the entire tortilla. This technique keeps the filling contained and ensures even heat contact. I used a regular spatula once, and the filling splattered everywhere. The wide spatula is a game‑changer.
The Perfect Pan
A heavy‑bottomed skillet distributes heat evenly, preventing hot spots that cause burning. Cast iron or stainless steel works best. If you’re using a non‑stick pan, preheat it for a few minutes before adding butter; this helps maintain a crisp crust.
The Final Touch of Sweetness
A drizzle of honey or a sprinkle of powdered sugar after serving adds a final layer of sweetness and visual appeal. The honey should be warm enough to flow, creating a glossy finish. I recommend using a small squeeze bottle for precise application.
Creative Twists and Variations
This recipe is a playground. Here are some of my favorite ways to switch things up:
Maple‑Glazed Apple Quesa
Replace the brown sugar with maple syrup for a richer, deeper sweetness. The syrup caramelizes into a glossy glaze, enhancing the apple’s natural flavor. This variation is perfect for a cozy fall breakfast.
Spiced Pear & Gorgonzola Quesa
Swap apples for sliced pears and use gorgonzola instead of cream cheese. The sharpness of the cheese balances the pears’ sweetness, creating a sophisticated bite. This is a great option for brunch.
Coconut‑Infused Quesa
Add shredded coconut to the apple mixture and replace butter with coconut oil. The coconut adds a tropical aroma and a subtle crunch. Pair it with a dollop of coconut yogurt for extra creaminess.
Savory Apple & Sausage Quesa
Incorporate crumbled breakfast sausage into the filling and reduce the cinnamon. The savory component balances the sweetness, making it a hearty breakfast option. Top with a sprinkle of cheddar for a melty finish.
Vegan Apple Quesa
Use vegan butter and a plant‑based cream cheese alternative. The texture remains creamy, while the apple’s sweetness carries the dish. This version is a hit for those who prefer dairy‑free meals.
Storing and Bringing It Back to Life
Fridge Storage
Wrap each quesadilla tightly in parchment paper and place in an airtight container. Store in the refrigerator for up to 2 days. The parchment keeps the tortilla from drying out while allowing moisture to escape.
Freezer Friendly
After wrapping, freeze the quesadillas for up to 3 months. To thaw, let them sit at room temperature for 30 minutes before reheating. The texture remains crisp, and the filling stays creamy.
Best Reheating Method
Reheat in a skillet over medium heat, adding a splash of water to the pan to create steam. This steams the filling back to perfection while keeping the tortilla crisp. Alternatively, use a microwave for 30 seconds, then finish in a skillet.