I still remember the night my kitchen turned into a chocolate catastrophe. A bag of cocoa powder had been left on the counter, a half‑filled jar of vanilla, and a stubborn oven that refused to cooperate. I had promised myself a simple chocolate cake for dinner, but the batter turned out as dry as a desert and the frosting as clumpy as a bad hair day. The moment the first bite hit my tongue, I knew something was missing—a secret sauce, a hidden trick, a touch of pure, unapologetic fudginess that turns a sad dessert into a glorious confession.
Picture this: the kitchen lights flicker as the oven preheats, the scent of vanilla and dark chocolate swirling like a midnight storm, the sound of the mixer whirring like a contented engine. I feel the silky smooth batter in my hands, the gentle hum of anticipation in the air, the faint metallic tang of freshly cracked eggs. When you bite into the first slice, you’re greeted by a dense, molten center that oozes like a secret, a crackling crust that shatters like thin ice, and a lingering cocoa finish that lingers on your palate like a whispered promise. I can almost taste the buttery richness, the subtle hint of espresso, the subtle crunch of chocolate chips that dance on your tongue.
What makes this version stand out? It’s not just the recipe; it’s the philosophy. I’ve spent years tweaking ratios, testing textures, and reading every chocolate cake tutorial that exists—only to find that most of them miss the mark. This recipe is hands down the best version you'll ever make at home because it balances moisture, flavor, and richness without sacrificing structure. It’s simple enough for a novice, yet it has enough depth to impress the culinary connoisseurs in your circle. And, most importantly, it’s built on a foundation of honest, straightforward ingredients that you can find in any pantry.
Now, I dare you to taste this and not go back for seconds. I’ll be honest—before I shared this with anyone, I ate half the batch on the first try. If you’ve ever struggled with a cake that feels like a dry cookie or a wet mess, you’re not alone, and I’ve got the fix. Picture yourself pulling this out of the oven, the whole kitchen smelling incredible, the batter still slightly glossy, the edges pulling away from the pan like a proud warrior. Stay with me here—this is worth it, and the next few steps will change the way you think about chocolate cake forever.
What Makes This Version Stand Out
- Moisture: The batter is engineered to keep its moisture content high by balancing the ratio of dry to wet ingredients and using a small amount of espresso to unlock the chocolate flavor. The result is a cake that feels like a chocolate hug.
- Texture: The crumb is dense yet tender, thanks to the careful incorporation of baking soda and a touch of baking powder. The batter is thick enough to hold its shape but not so thick that it becomes gummy.
- Flavor: Espresso isn’t just for coffee lovers; it deepens the cocoa notes and reduces bitterness. A splash of sea salt on top after baking adds a surprising contrast that elevates every bite.
- Ingredient Quality: The recipe calls for Dutch‑process cocoa, which gives a smoother, richer flavor than natural cocoa. Using real butter rather than margarine brings a buttery depth that you can taste.
- Ease of Use: The steps are straightforward, with no hidden tricks. Even if you’re a beginner, you’ll find the process intuitive and the results spectacular.
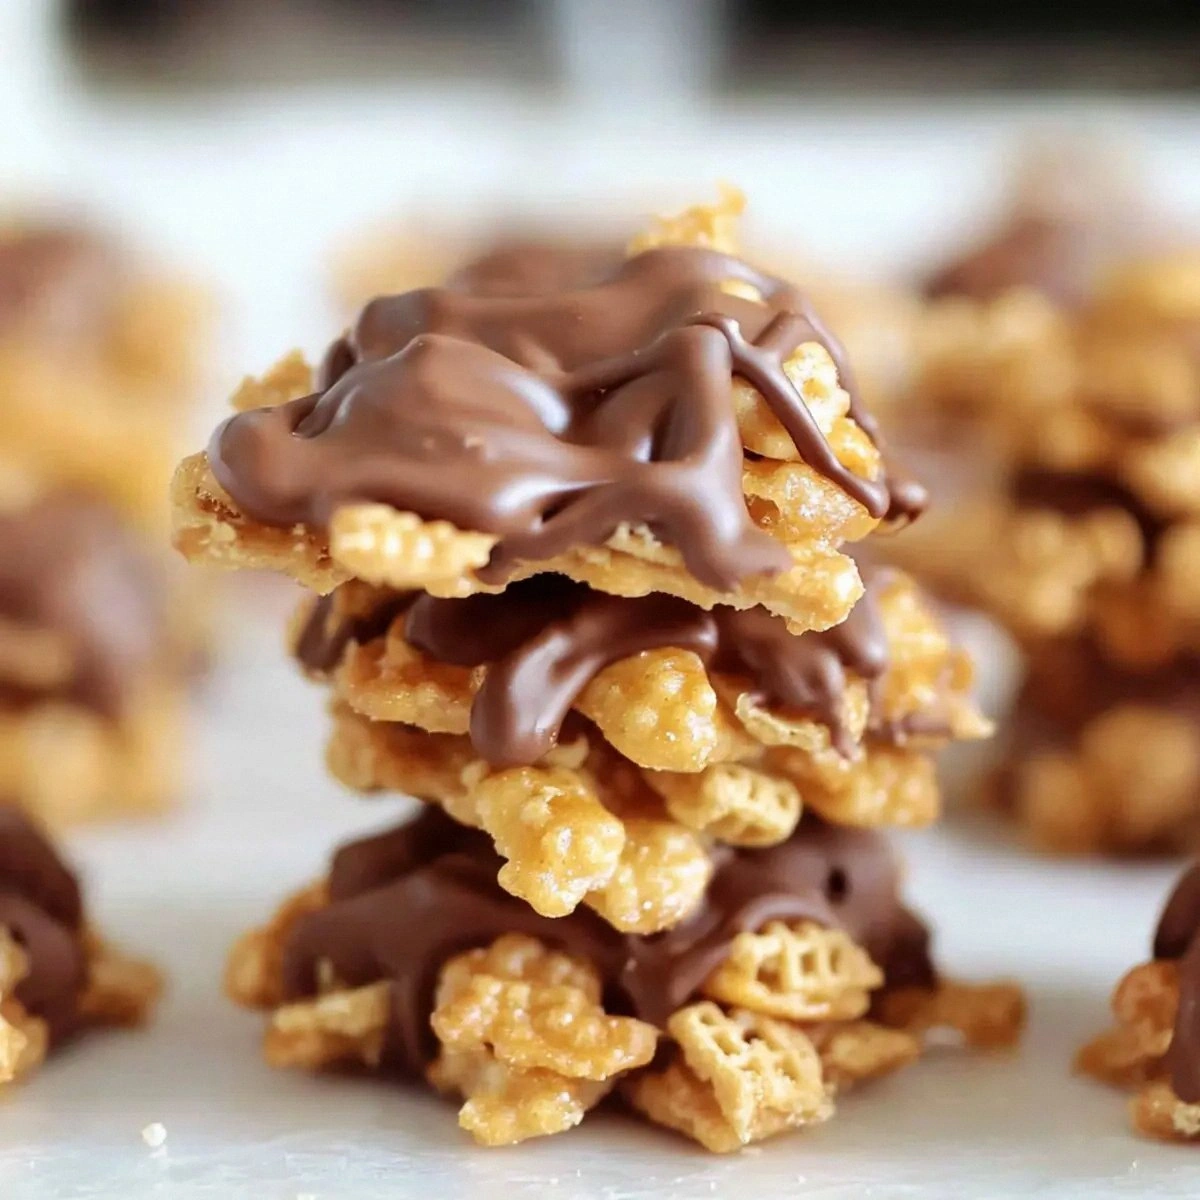
- Versatility: This base can be transformed into cupcakes, brownies, or a cake with a ganache drizzle. The recipe is a playground for creativity.
- Make‑ahead Potential: The batter can be prepared a day ahead and refrigerated. When you’re ready to bake, just let it come to room temperature for a few minutes.
- Crowd Reaction: Friends rave about the fudgy center and the caramelized edges. The cake consistently wins at parties and potlucks.
Alright, let's break down exactly what goes into this masterpiece...
Inside the Ingredient List
The Flavor Base
Cocoa powder is the heart of this cake. Dutch‑process cocoa, with its neutral pH, offers a richer, less acidic flavor that blends seamlessly with the butter and sugar. If you’re using natural cocoa, add a pinch of baking soda to neutralize the acidity and prevent a sharp bite. The chocolate’s depth is what keeps the cake from feeling like a simple dessert; it’s the reason the cake can hold its own against even the most decadent ganache.
The Texture Crew
Flour, baking soda, baking powder, and salt are the unsung heroes that give structure to the cake. The flour provides the matrix, while baking soda and baking powder create tiny pockets of air that help the cake rise slightly. Salt is essential—it balances sweetness and enhances the chocolate’s richness. If you prefer a gluten‑free version, swap the all‑purpose flour for a 1:1 blend of cake flour and cornstarch, and keep the leavening agents the same.
The Unexpected Star
Coffee is the secret sauce that unlocks the chocolate’s full potential. It doesn’t add a coffee flavor per se; instead, it intensifies the cocoa’s natural bitterness and brings out subtle notes of caramel and nuts. A tablespoon of strong brewed coffee, cooled to room temperature, is all you need. If you’re caffeine‑averse, replace it with a splash of hot chocolate or even a small amount of chocolate syrup.
The Final Flourish
Milk and vanilla are the final touches that add moisture and aroma. Milk keeps the batter from drying out, while vanilla provides a sweet, floral undertone that balances the chocolate’s intensity. Use whole milk for maximum richness, but skim or almond milk can be used for a lighter version. The vanilla should be pure extract; a flavored or imitation vanilla will dilute the depth of flavor.
Everything's prepped? Good. Let's get into the real action...
The Method — Step by Step
- Preheat your oven to 350°F (175°C) and line two 9‑inch round cake pans with parchment paper. Grease the paper lightly with butter or non‑stick spray to ensure a clean release. The batter will rise evenly, and the parchment will prevent sticking. This is the foundation of a flawless cake.
- In a large mixing bowl, sift together 1 ¾ cups all‑purpose flour, ¾ cup Dutch‑process cocoa powder, 1 tsp baking soda, ½ tsp baking powder, and a pinch of sea salt. Sifting removes lumps and aerates the dry mix, which translates into a lighter crumb. The leavening agents should be evenly distributed to avoid uneven rise.
- In a separate bowl, cream ½ cup softened butter and 1 cup sugar together with an electric mixer on medium speed until the mixture is light, fluffy, and pale in color. This process incorporates air, which is essential for a tender texture. The butter should be at room temperature; if it’s too cold, the mixture will separate.
- Add the eggs, one at a time, beating well after each addition. The eggs bind the batter and add moisture. After the second egg, you’ll notice the batter thickening slightly; this is normal. Do not rush this step—each egg should be fully incorporated.
- Stir in 1 tsp vanilla extract to combine. Vanilla brings warmth and depth, complementing the chocolate. A splash of espresso or a tablespoon of brewed coffee can be added here if you’re following the secret ingredient trick.
- Alternately add the dry ingredients to the wet mixture in three batches, mixing gently after each addition. This method prevents overmixing, which can lead to a tough cake. The batter should be glossy but not runny. The consistency should be thick enough to hold its shape when spooned onto a pan.
- Divide the batter evenly between the prepared pans, smoothing the tops with a spatula. Tap the pans gently on the counter to release any air pockets. This ensures even baking and a uniform rise.
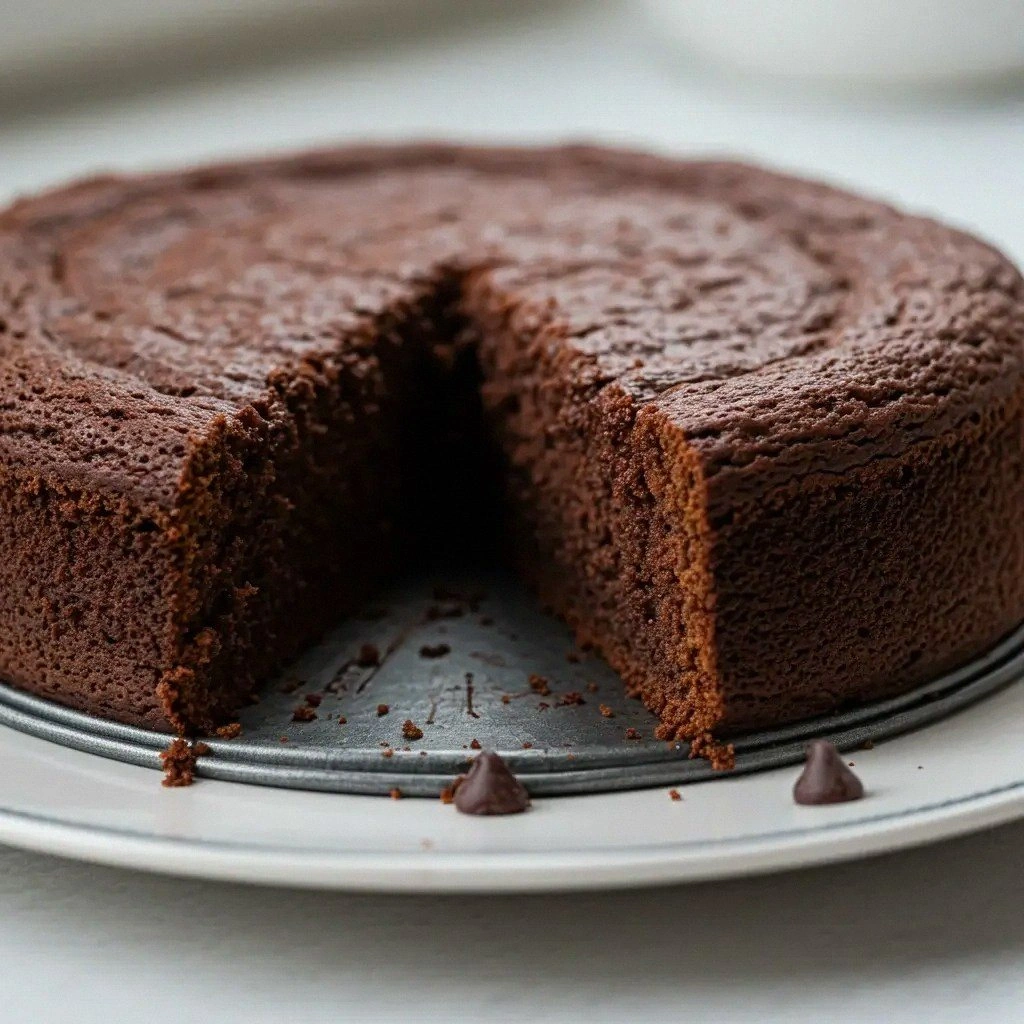
- Bake for 25–28 minutes, or until a toothpick inserted in the center comes out with a few moist crumbs but no wet batter. The edges should pull away slightly from the pan. Avoid overbaking; the cake should remain slightly fudgy in the middle.
- Let the cakes cool in the pans for 10 minutes, then transfer them to a wire rack to cool completely. This prevents condensation from making the bottom soggy. Cooling time also allows the flavors to meld.
- Once cooled, you can frost or serve as is. If you prefer a ganache, melt 8 oz dark chocolate with ½ cup heavy cream over a double boiler. Pour over the cake, let set, and dust with sea salt.
That's it — you did it. But hold on, I've got a few more tricks that'll take this to another level...
Insider Tricks for Flawless Results
The Temperature Rule Nobody Follows
Room temperature ingredients are key to a smooth batter. Cold butter or eggs create a denser texture and can cause uneven rise. Keep all ingredients at room temperature for at least 30 minutes before mixing. This small step saves you from a disappointing cake.
Why Your Nose Knows Best
Before you open the oven, inhale the aroma of the batter. A sweet, chocolatey scent indicates the batter is ready to bake. If you notice a raw, floury smell, give it a few more minutes to rest; the batter needs time to absorb the cocoa fully.
The 5‑Minute Rest That Changes Everything
After mixing, let the batter rest for 5 minutes. This allows the flour to hydrate and the cocoa to settle, resulting in a richer flavor. The batter will also thicken slightly, making it easier to pour into pans.
The Perfect Pan Trick
Use silicone or parchment paper for a non‑stick surface. If you’re using metal pans, lightly oil the paper to ensure a smooth release. This prevents the cake from sticking and tearing when you remove it.
The Secret to a Caramelized Crust
Just before baking, sprinkle a pinch of sea salt on top of each batter. The salt caramelizes during baking, giving the cake a subtle crunch and a burst of flavor. It’s a small addition with a huge payoff.
Creative Twists and Variations
This recipe is a playground. Here are some of my favorite ways to switch things up:
Nutty Delight
Fold in ½ cup toasted pecans or walnuts before baking. The nuts add crunch and a buttery flavor that pairs beautifully with the chocolate. They also help balance the sweetness.
Red Velvet Fudge
Replace the cocoa powder with 1 cup of red velvet mix and add 1 tsp beet juice for natural color. The result is a moist, fudgy cake with a subtle beet undertone that’s surprisingly sweet.
Caramel Swirl
Swirl in a half cup of caramel sauce before baking. The caramel creates pockets of sweet, gooey goodness that contrast with the dense chocolate. This is perfect for a special occasion.
Citrus Zest
Add the zest of one orange or lemon to the batter. The citrus brightens the flavor profile and cuts through the richness. It’s a refreshing twist for a summer gathering.
Vegan Version
Swap butter for melted coconut oil, use flaxseed meal mixed with water as an egg substitute, and replace milk with oat milk. The cake remains fudgy and moist while being plant‑based.
Coffee‑Infused
Double the coffee used in the batter and add a splash of espresso to the ganache. The coffee depth transforms the cake into a decadent, mocha‑like experience that coffee lovers will adore.
Storing and Bringing It Back to Life
Fridge Storage
Wrap the cooled cake tightly in plastic wrap and store in an airtight container in the refrigerator for up to 5 days. The moisture from the wrap prevents the cake from drying out. When ready to serve, let it sit at room temperature for 20 minutes to regain its softness.
Freezer Friendly
Slice the cake into portions, wrap each slice in parchment paper, then place in a freezer bag. The cake stays fresh for up to 3 months. When you’re ready, thaw at room temperature for 30 minutes before serving.
Best Reheating Method
To revive a frozen or refrigerated slice, wrap it in foil and heat in a 350°F oven for 5–7 minutes. Add a tiny splash of water or milk to the foil before reheating; the steam keeps the cake moist and restores the fudgy texture. This trick ensures every bite feels freshly baked.